Badandun Hill
Hill two and broken mast
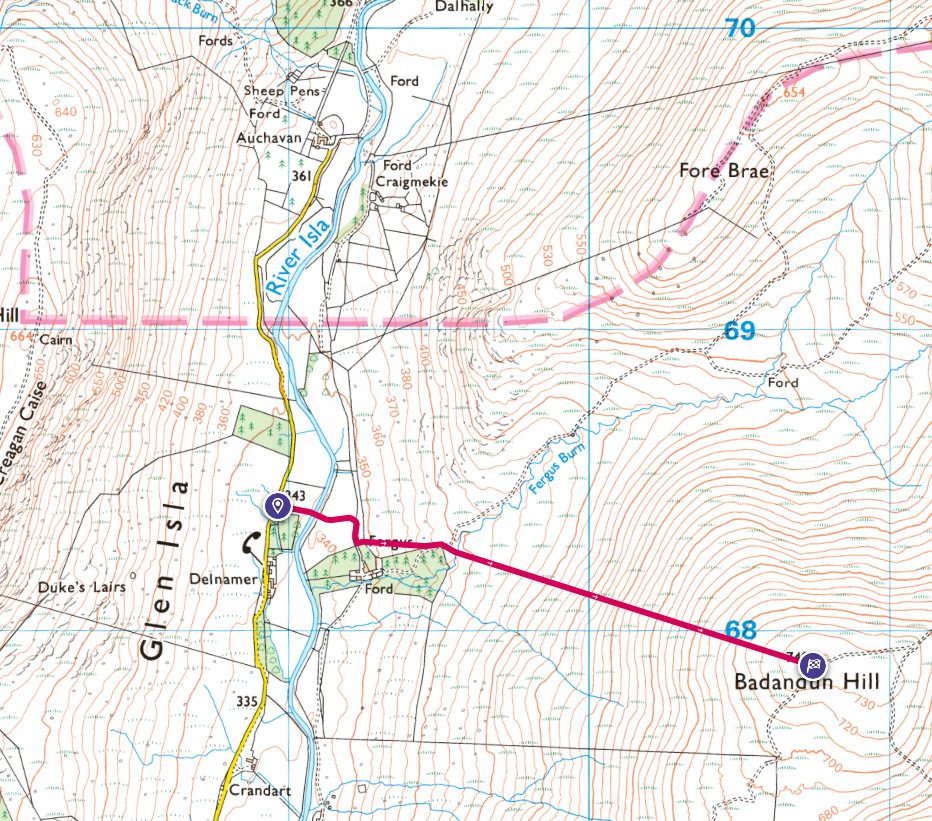
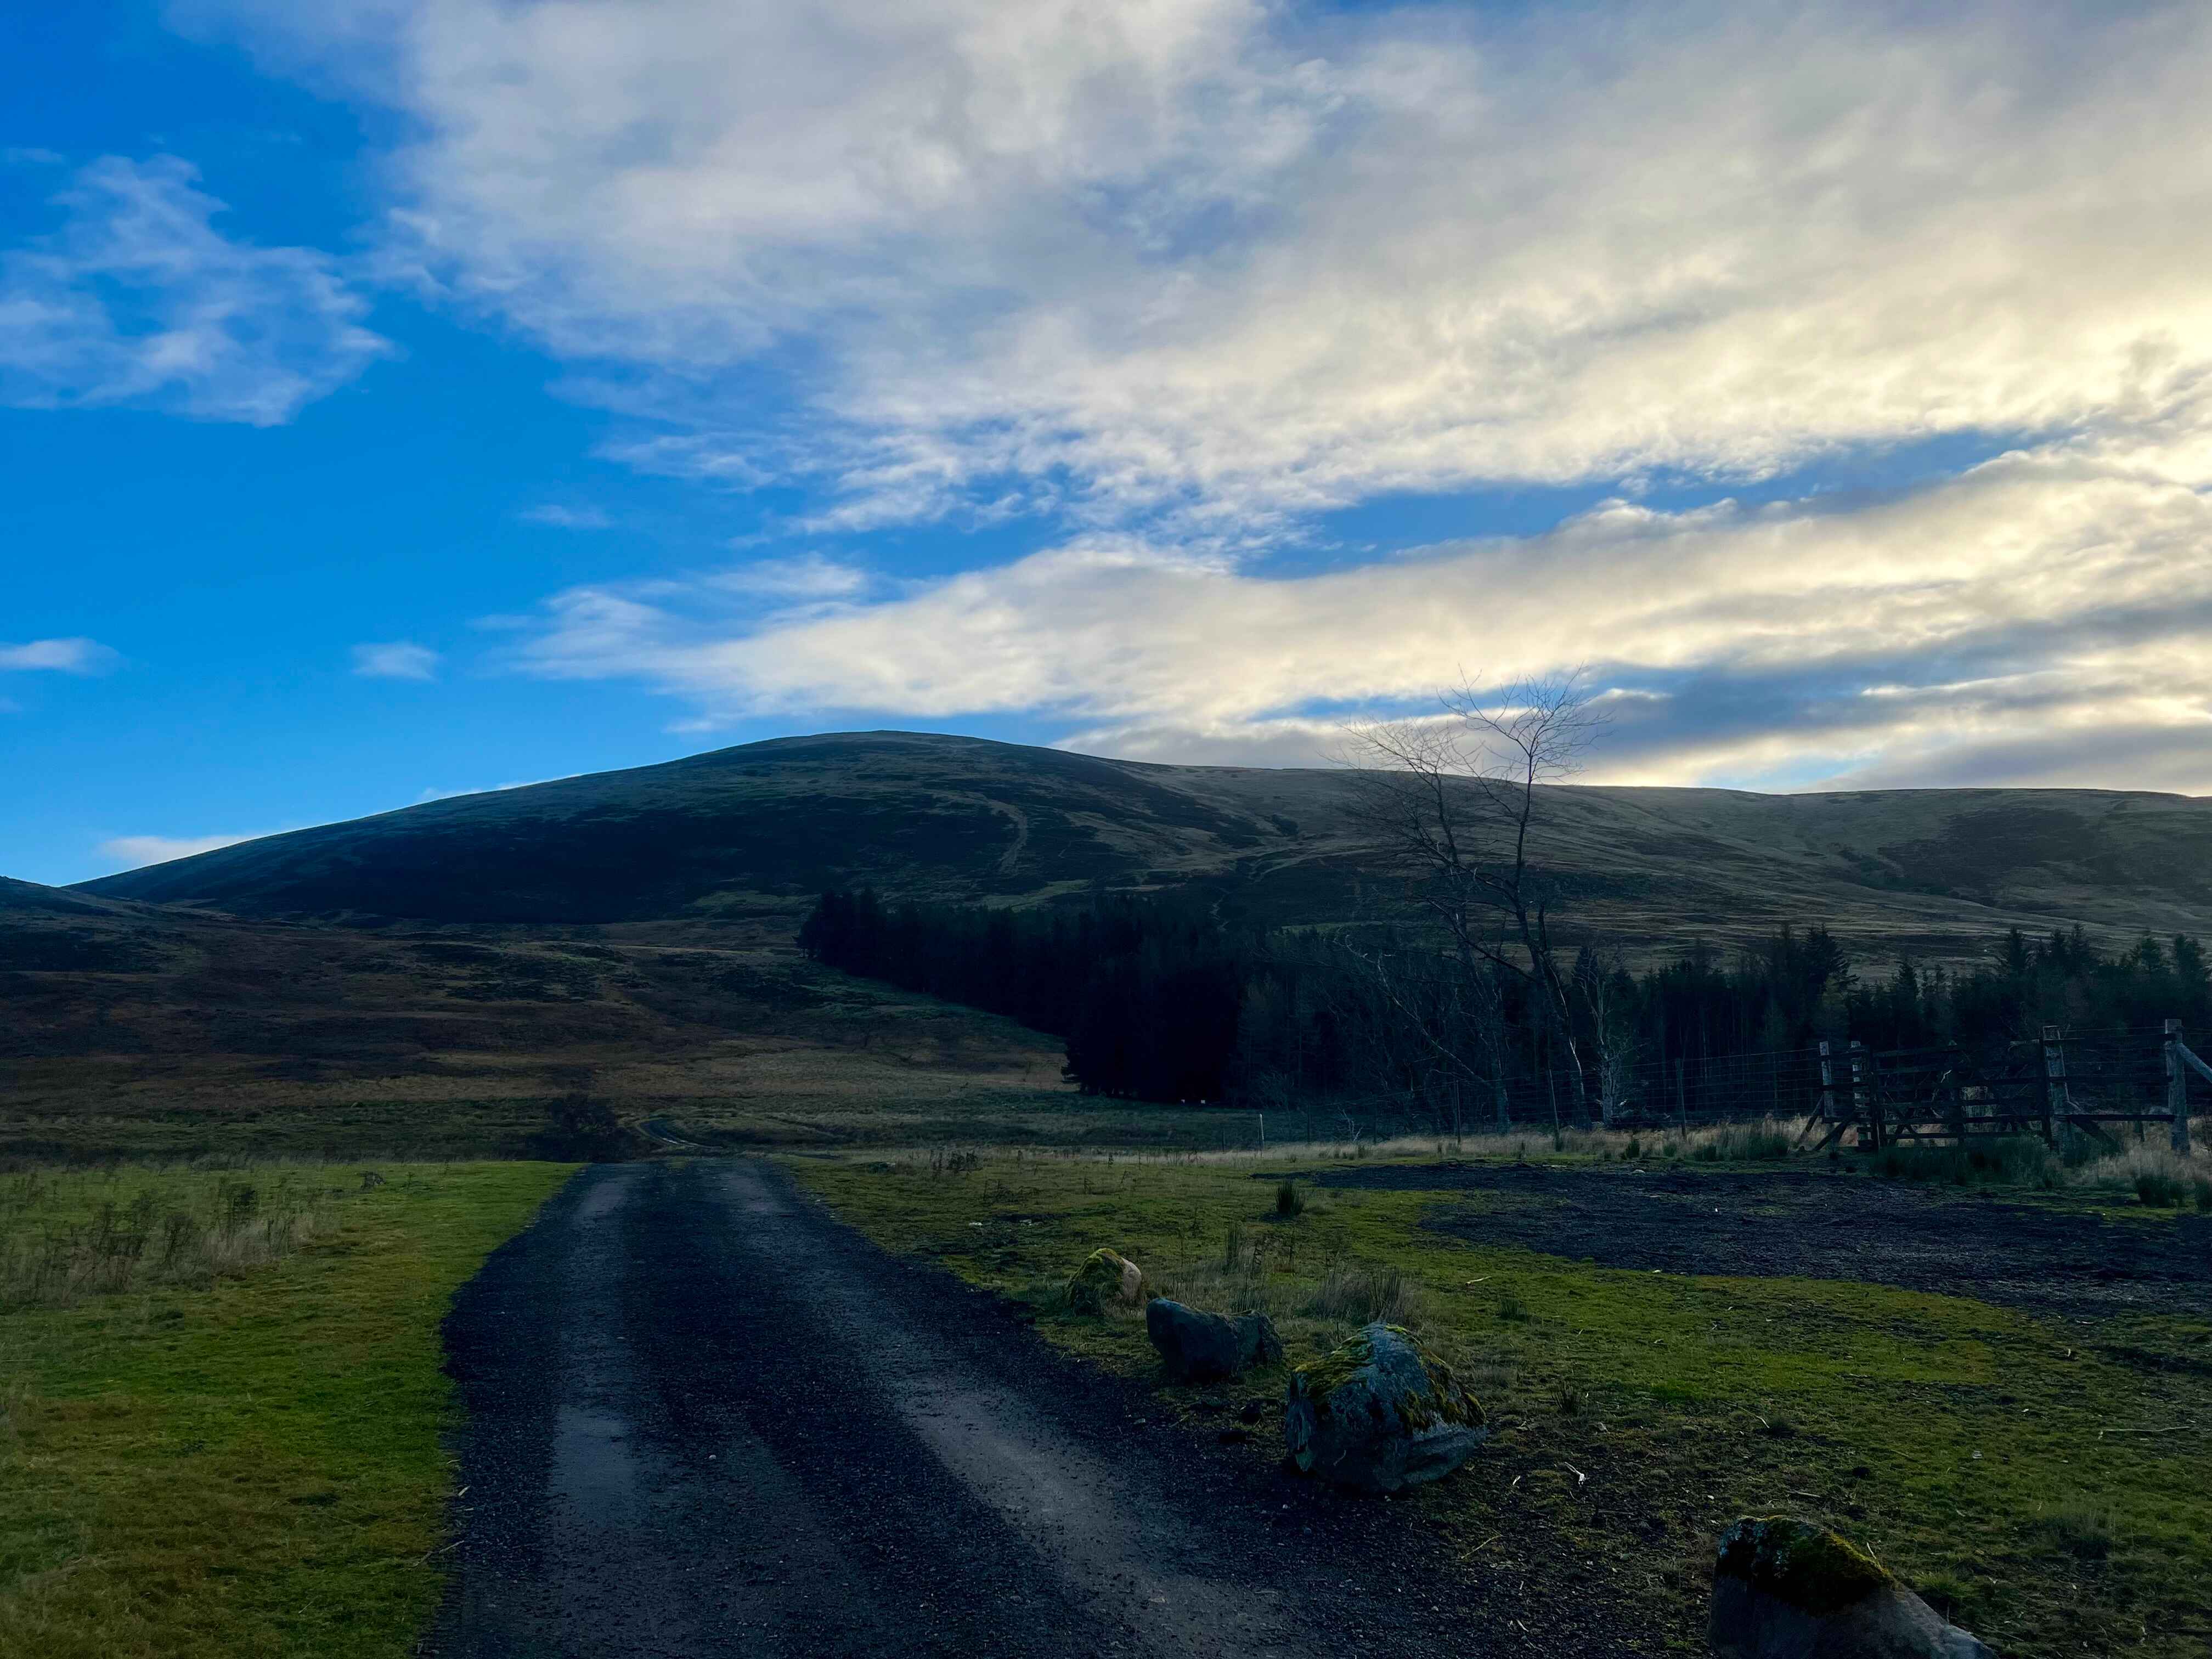
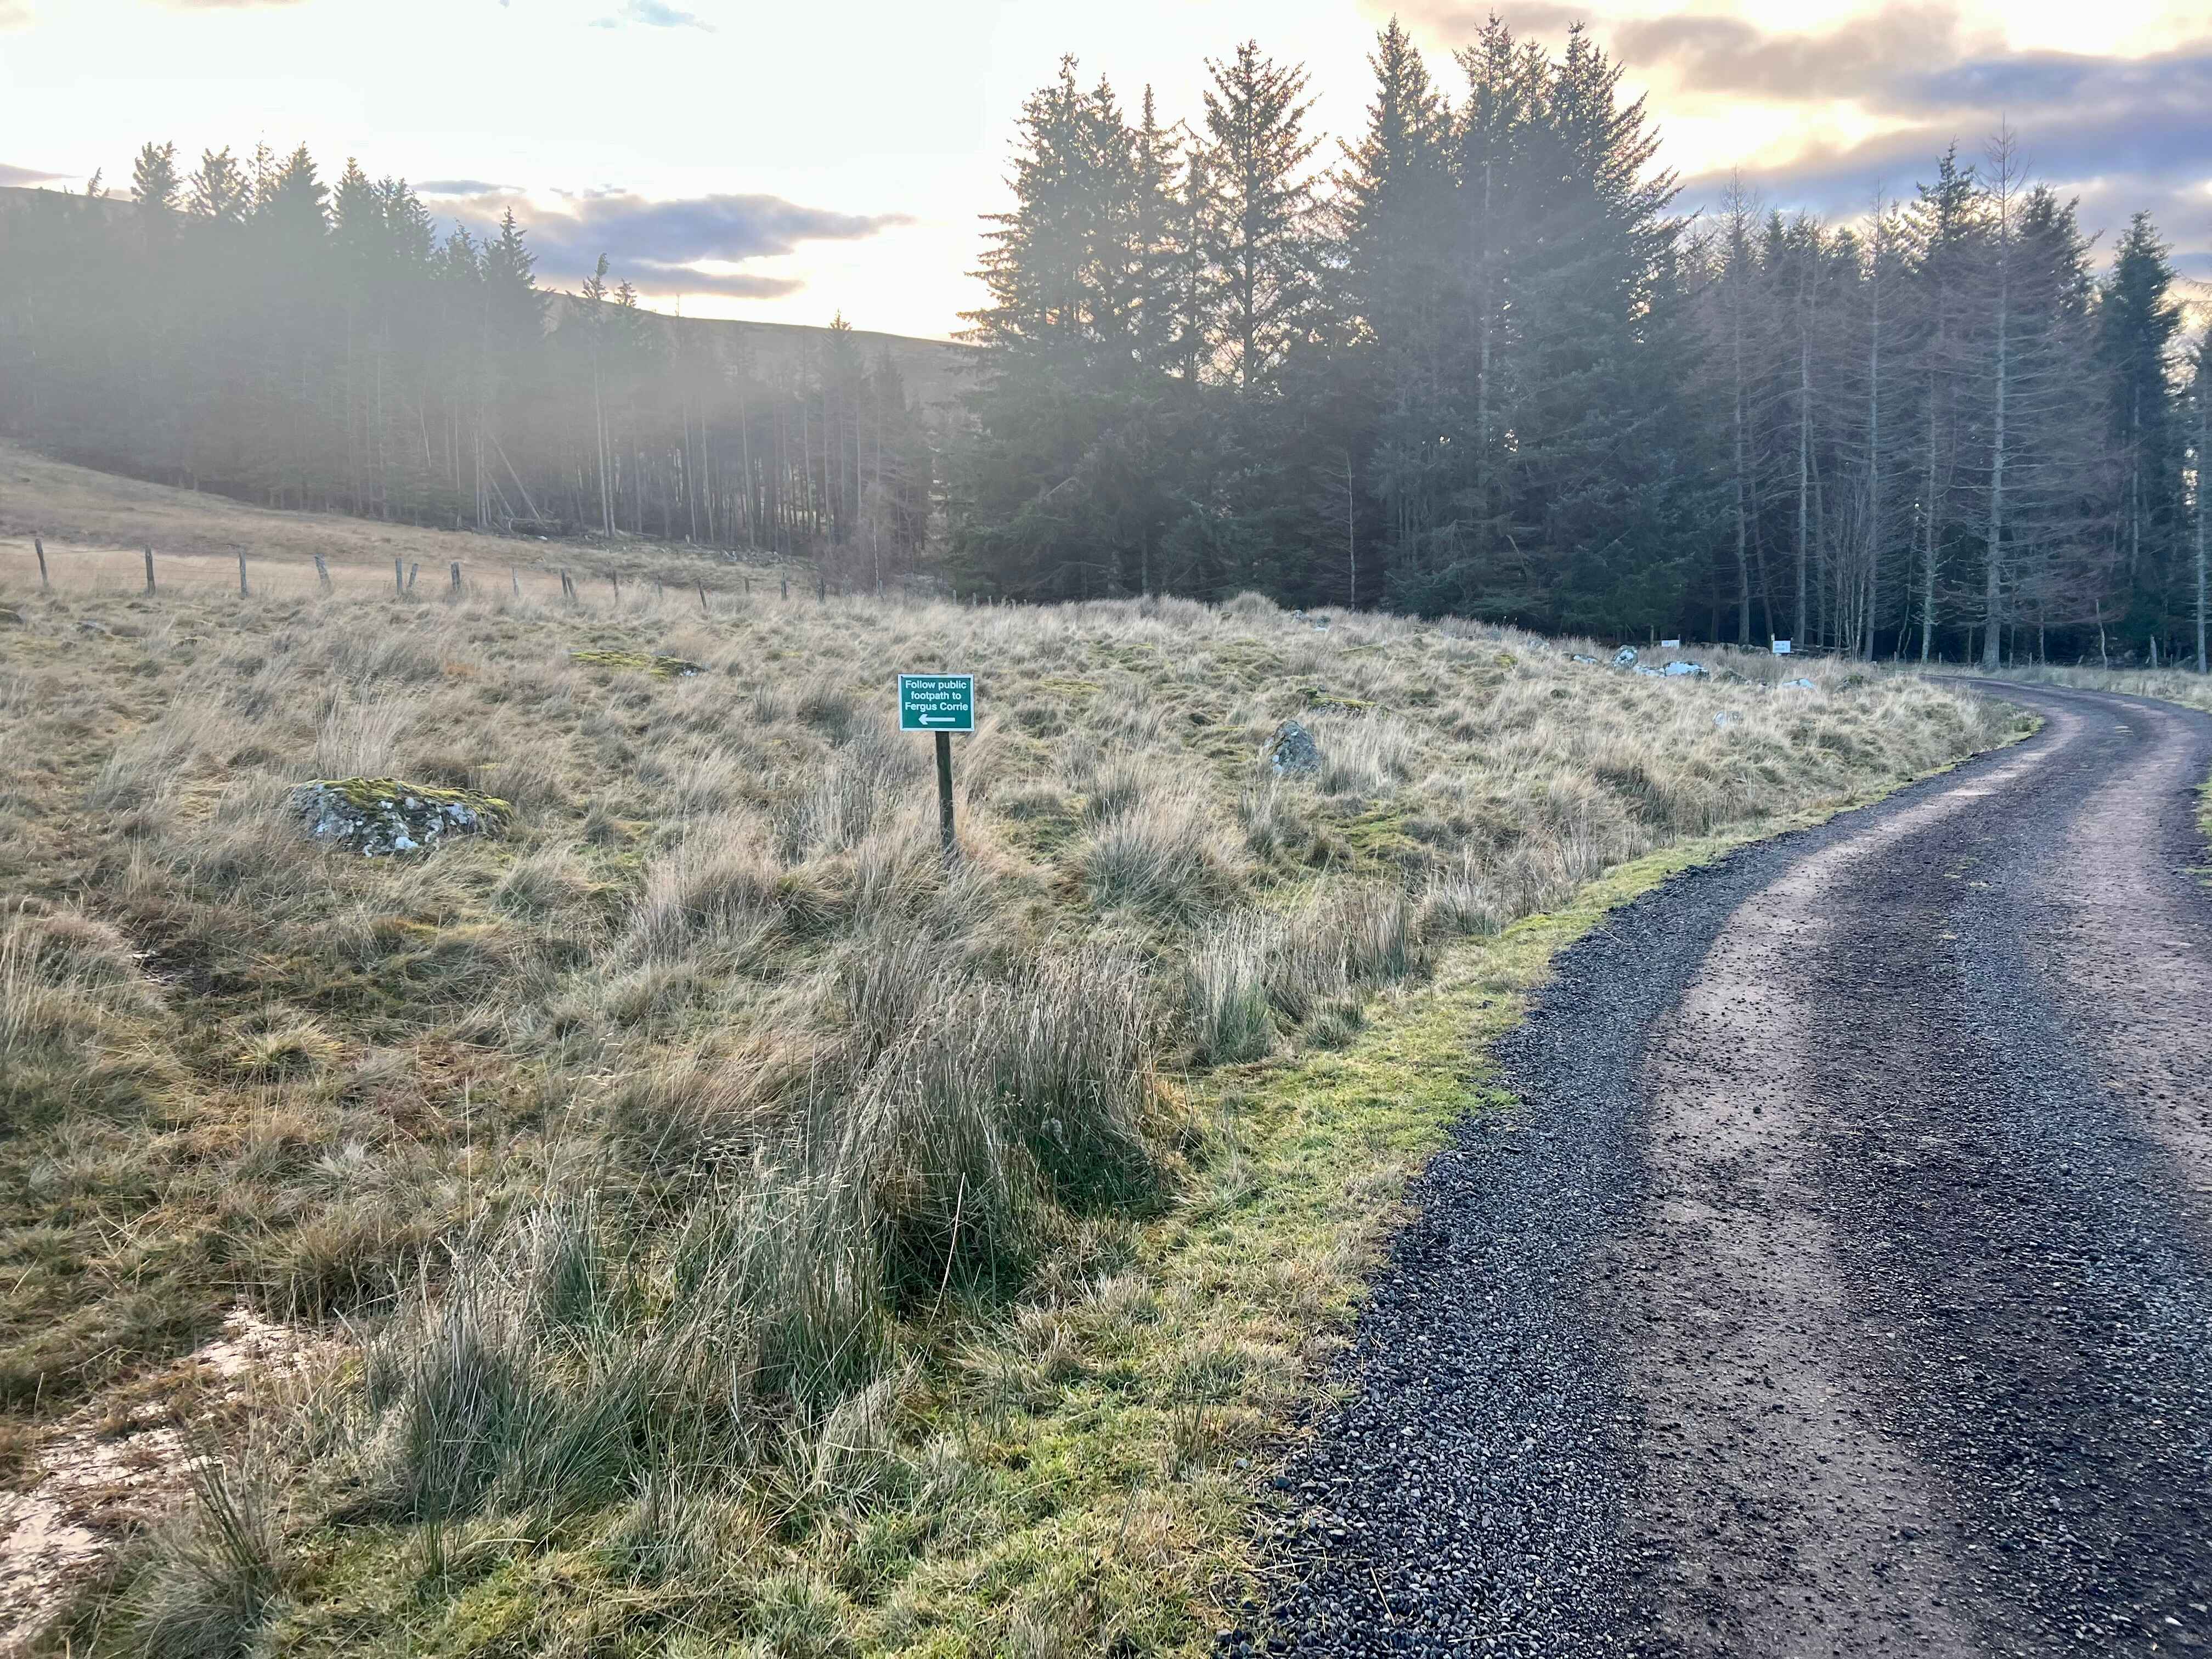
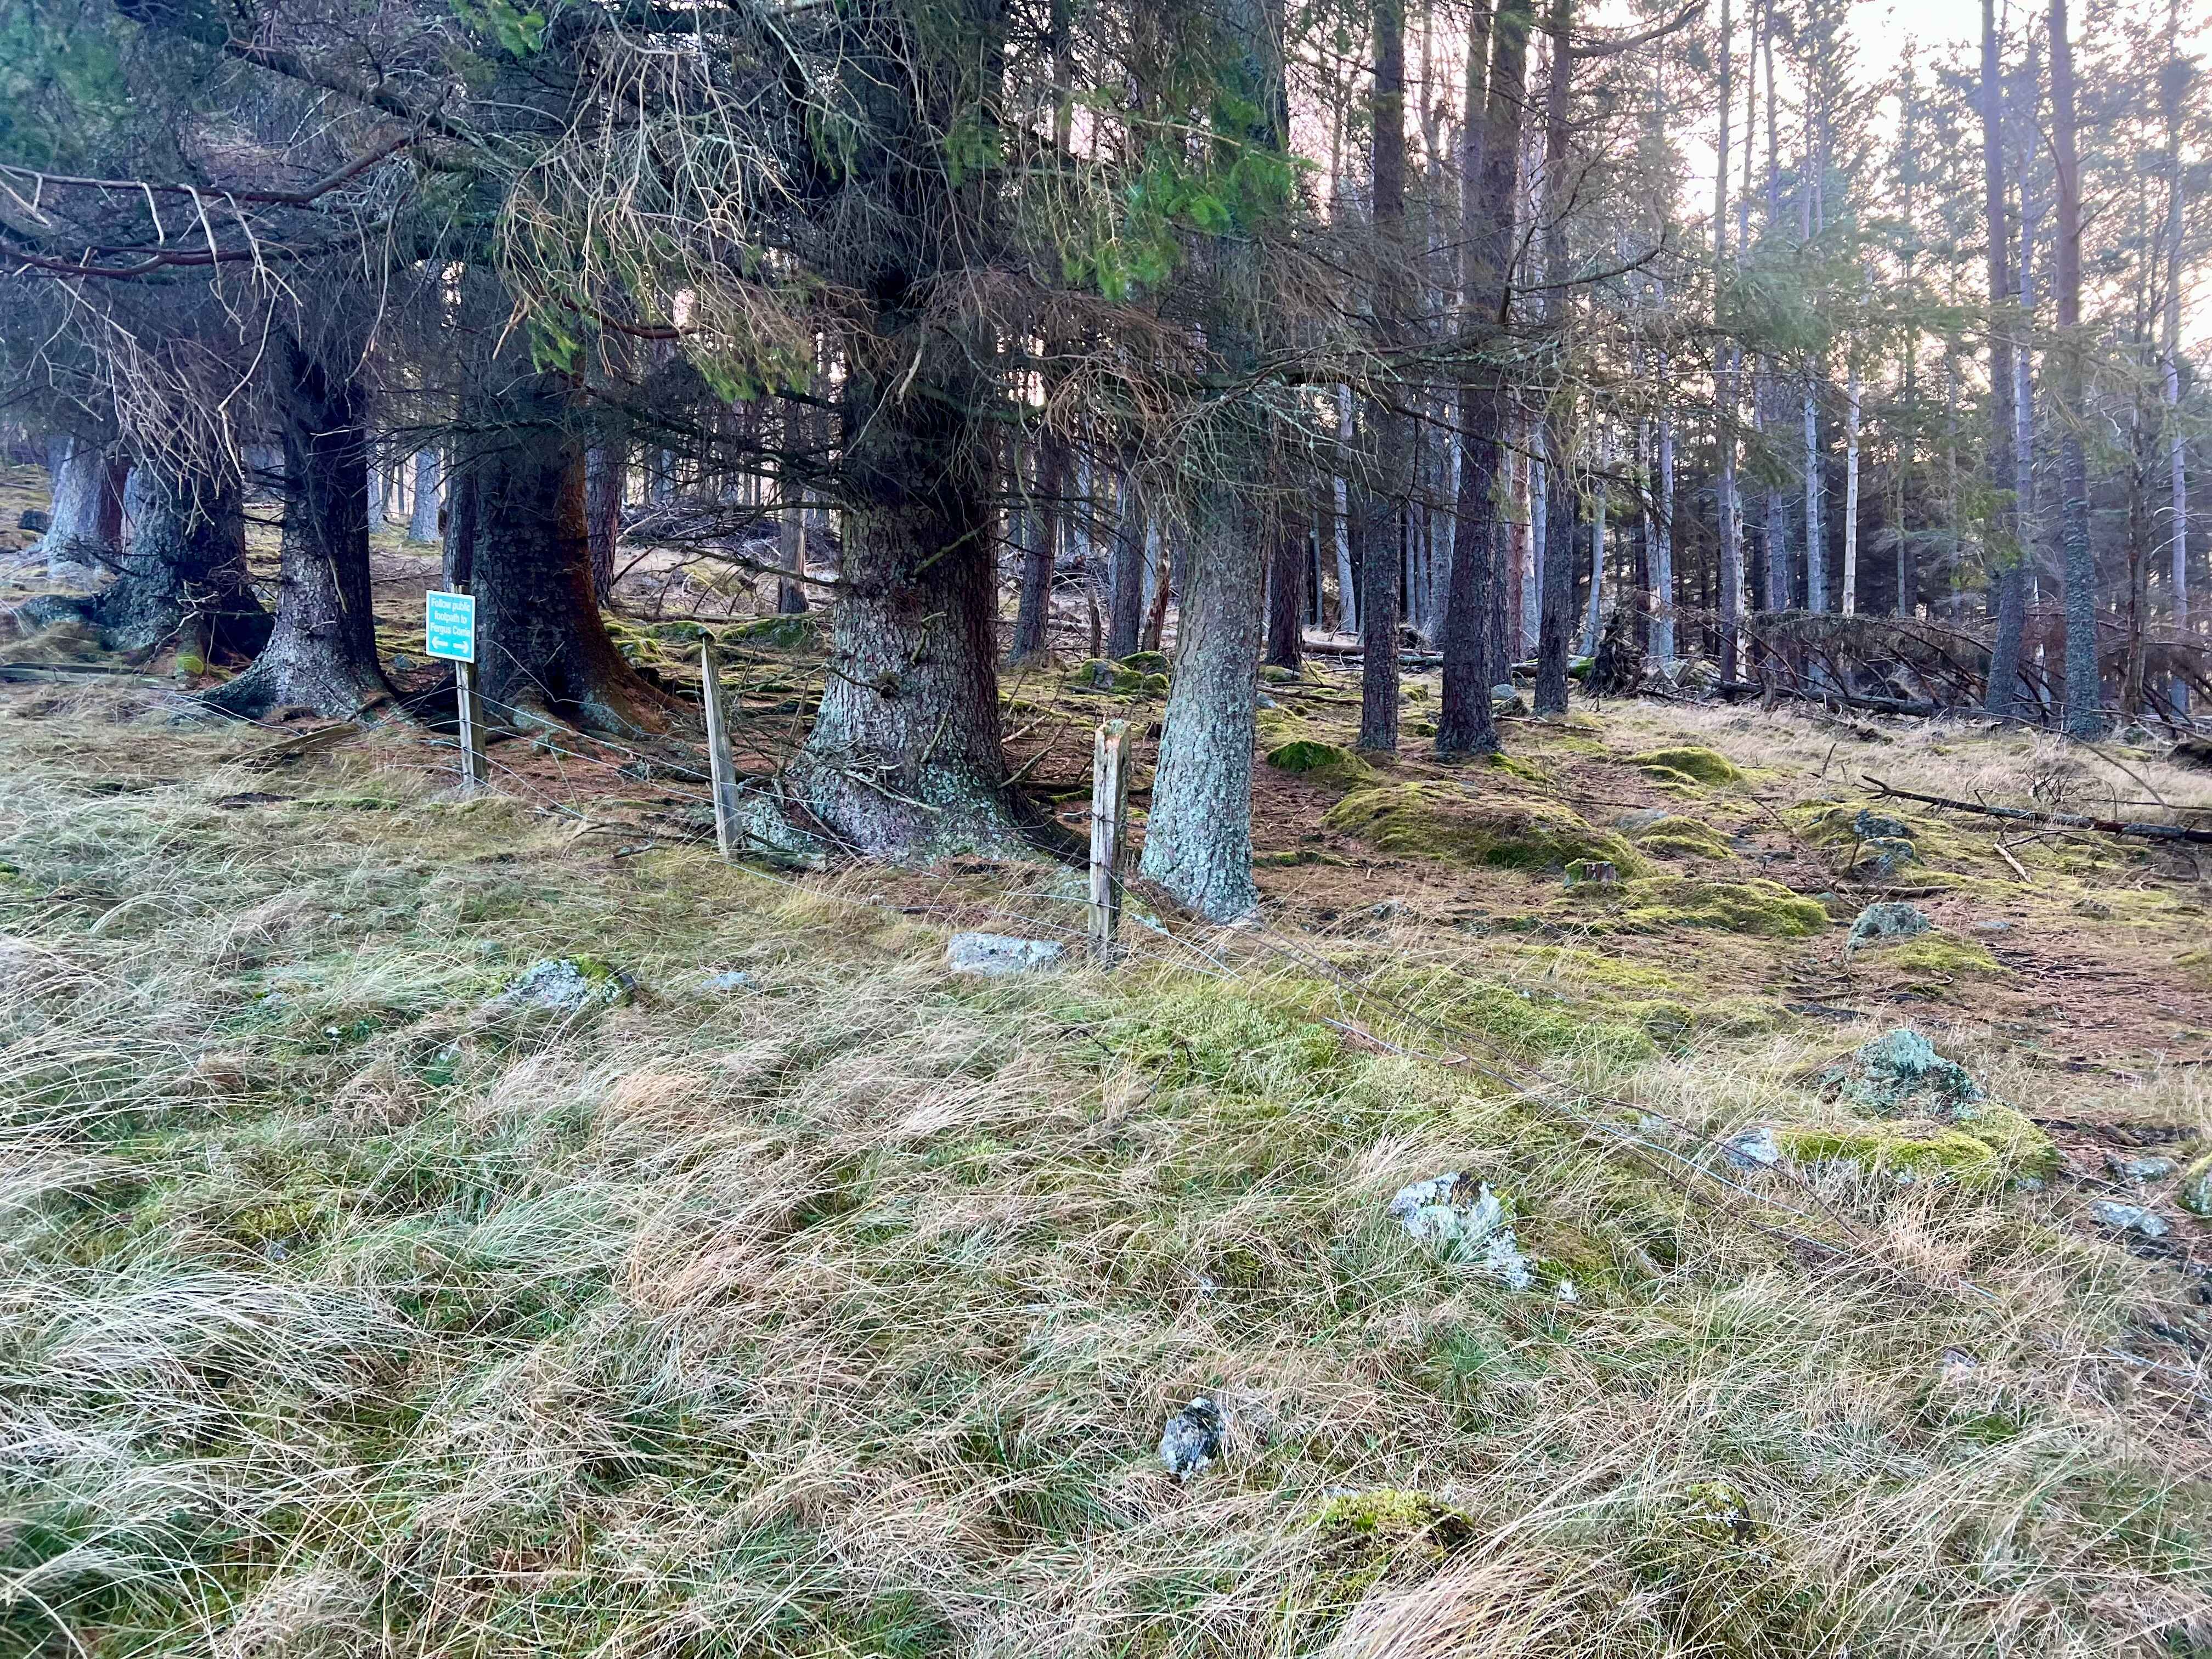
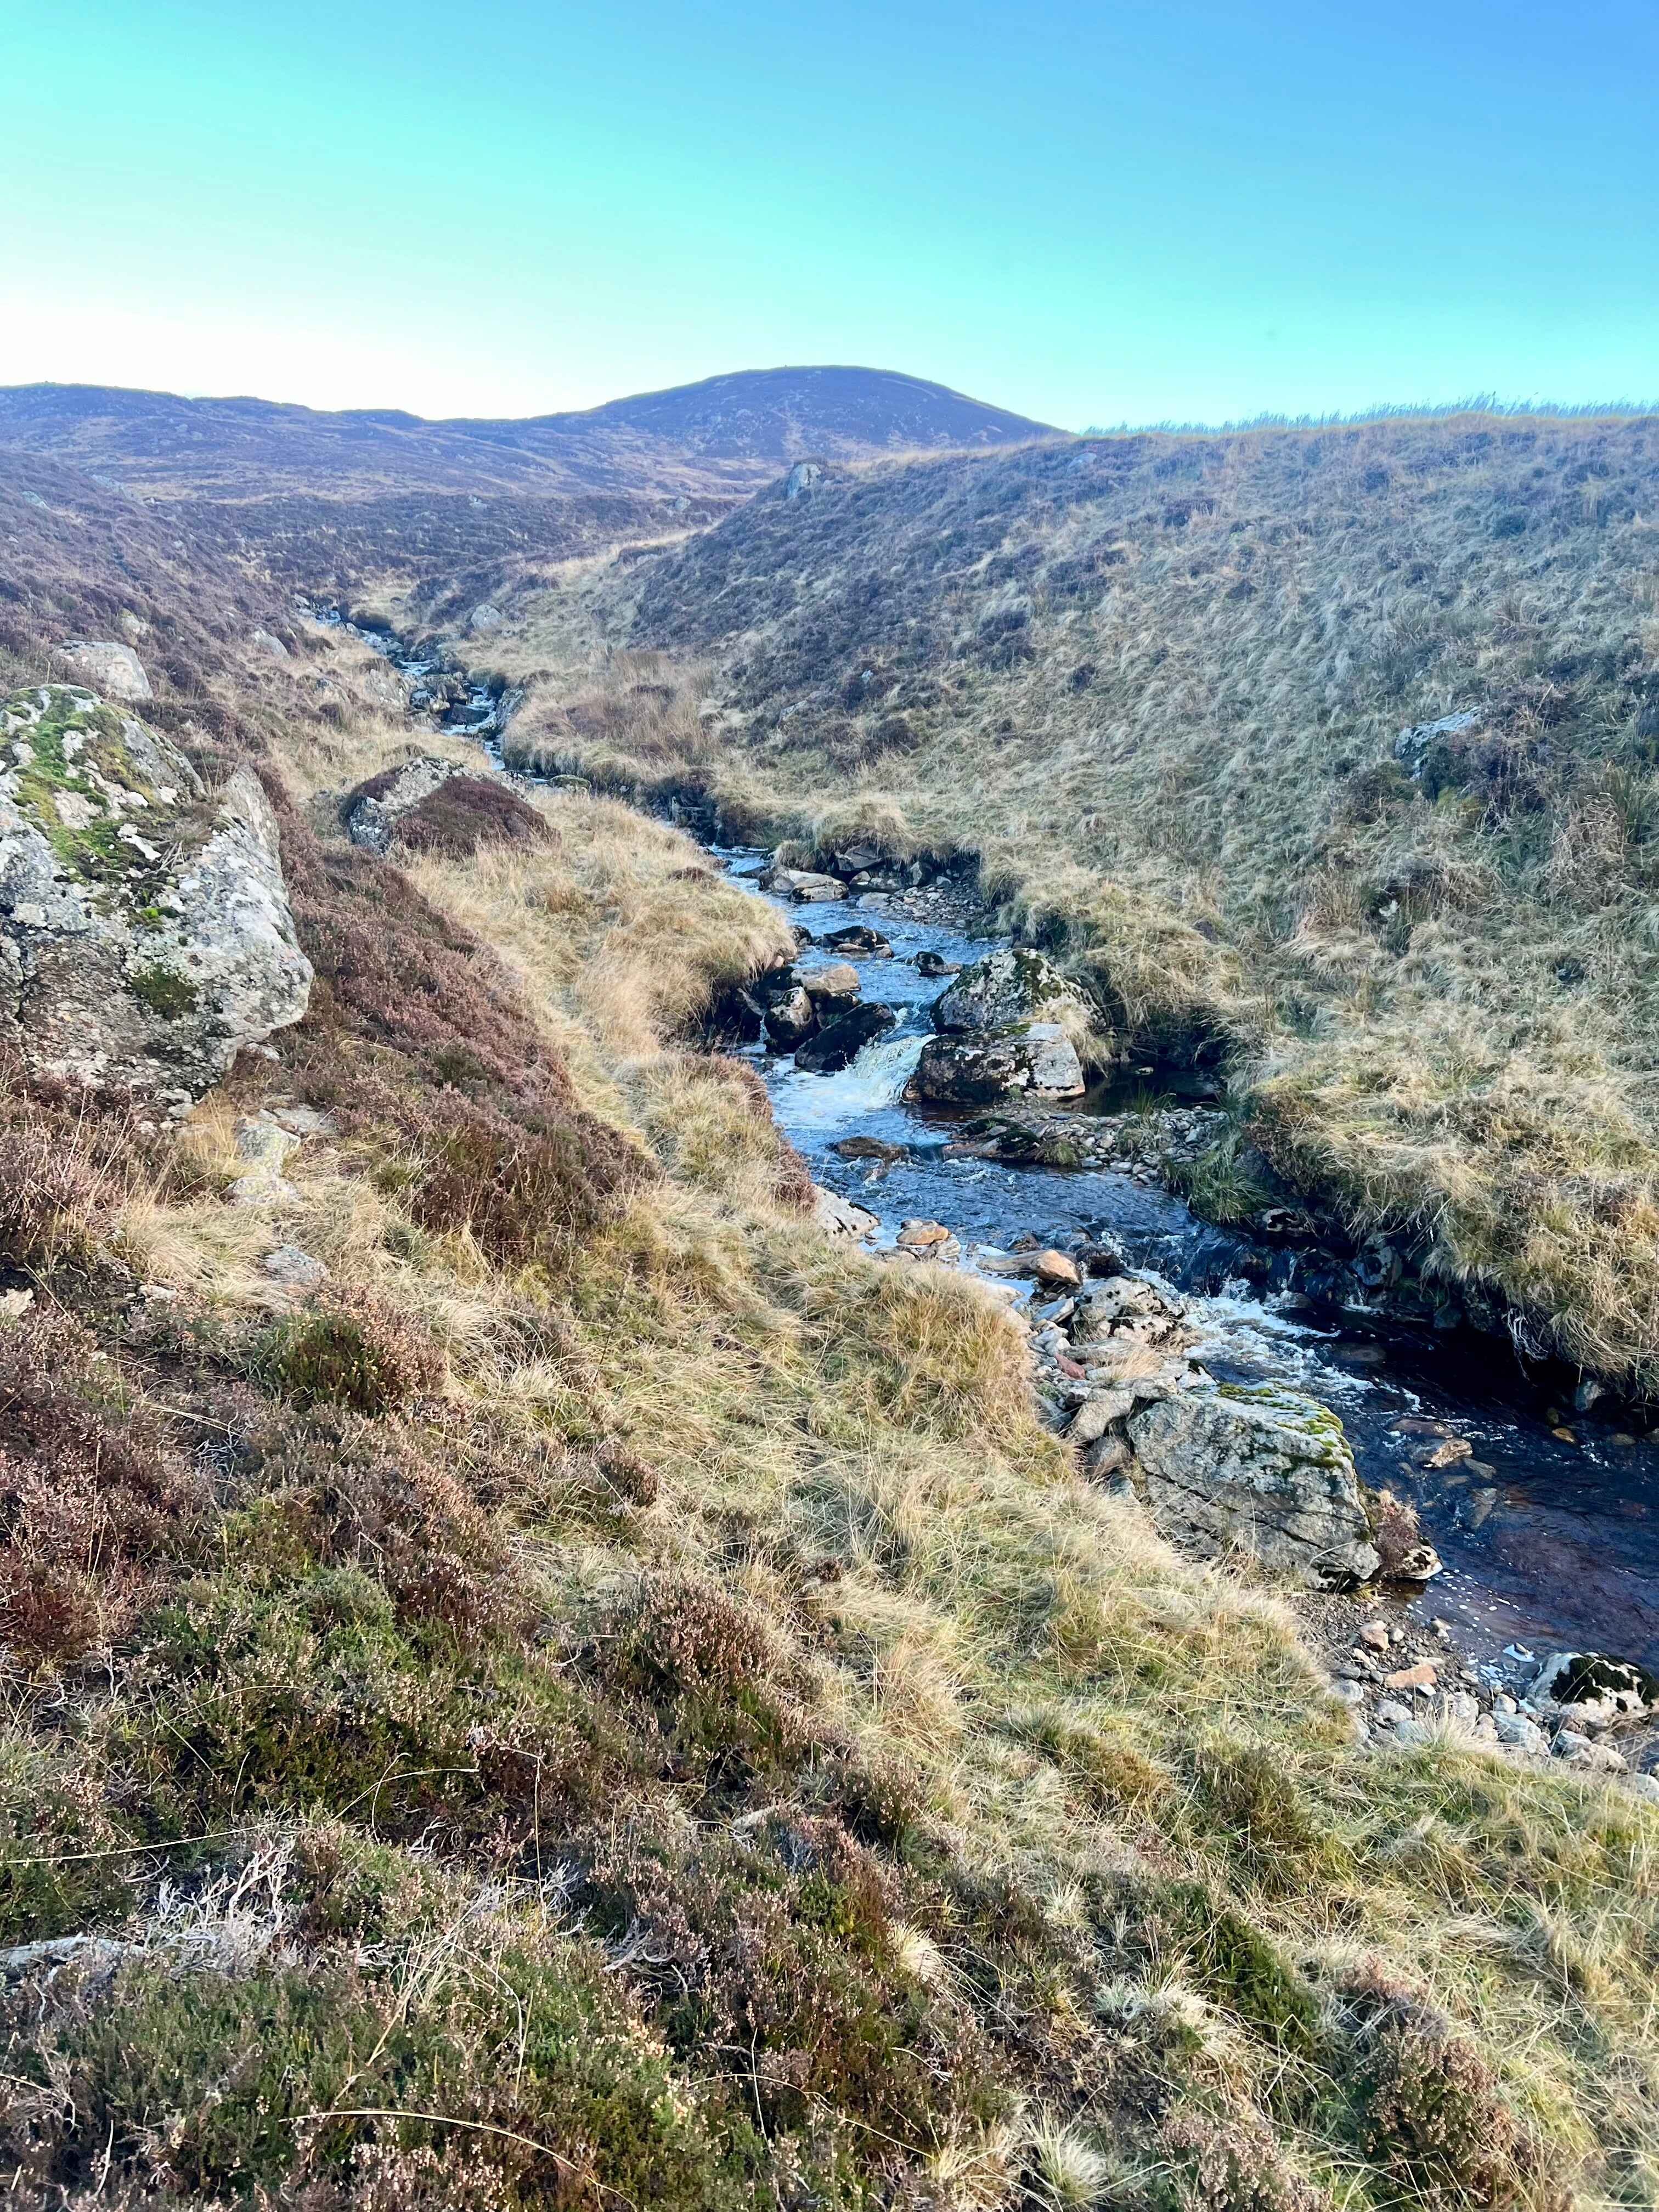
A short drive back down the road, and parking on the verge before the roadway entrance across the river, I was off on the next summit. This route isn’t the greatest, and was only picked for it’s short duration and short drive to the starting point. It starts out easy enough following the track and then crossing the field. It briefly follows a path that you could take the whole way up to the top, just a little longer. You have to jump the Fergus Burn, but it’s quite small in places, and then you start the slog straight up the hill to the summit.
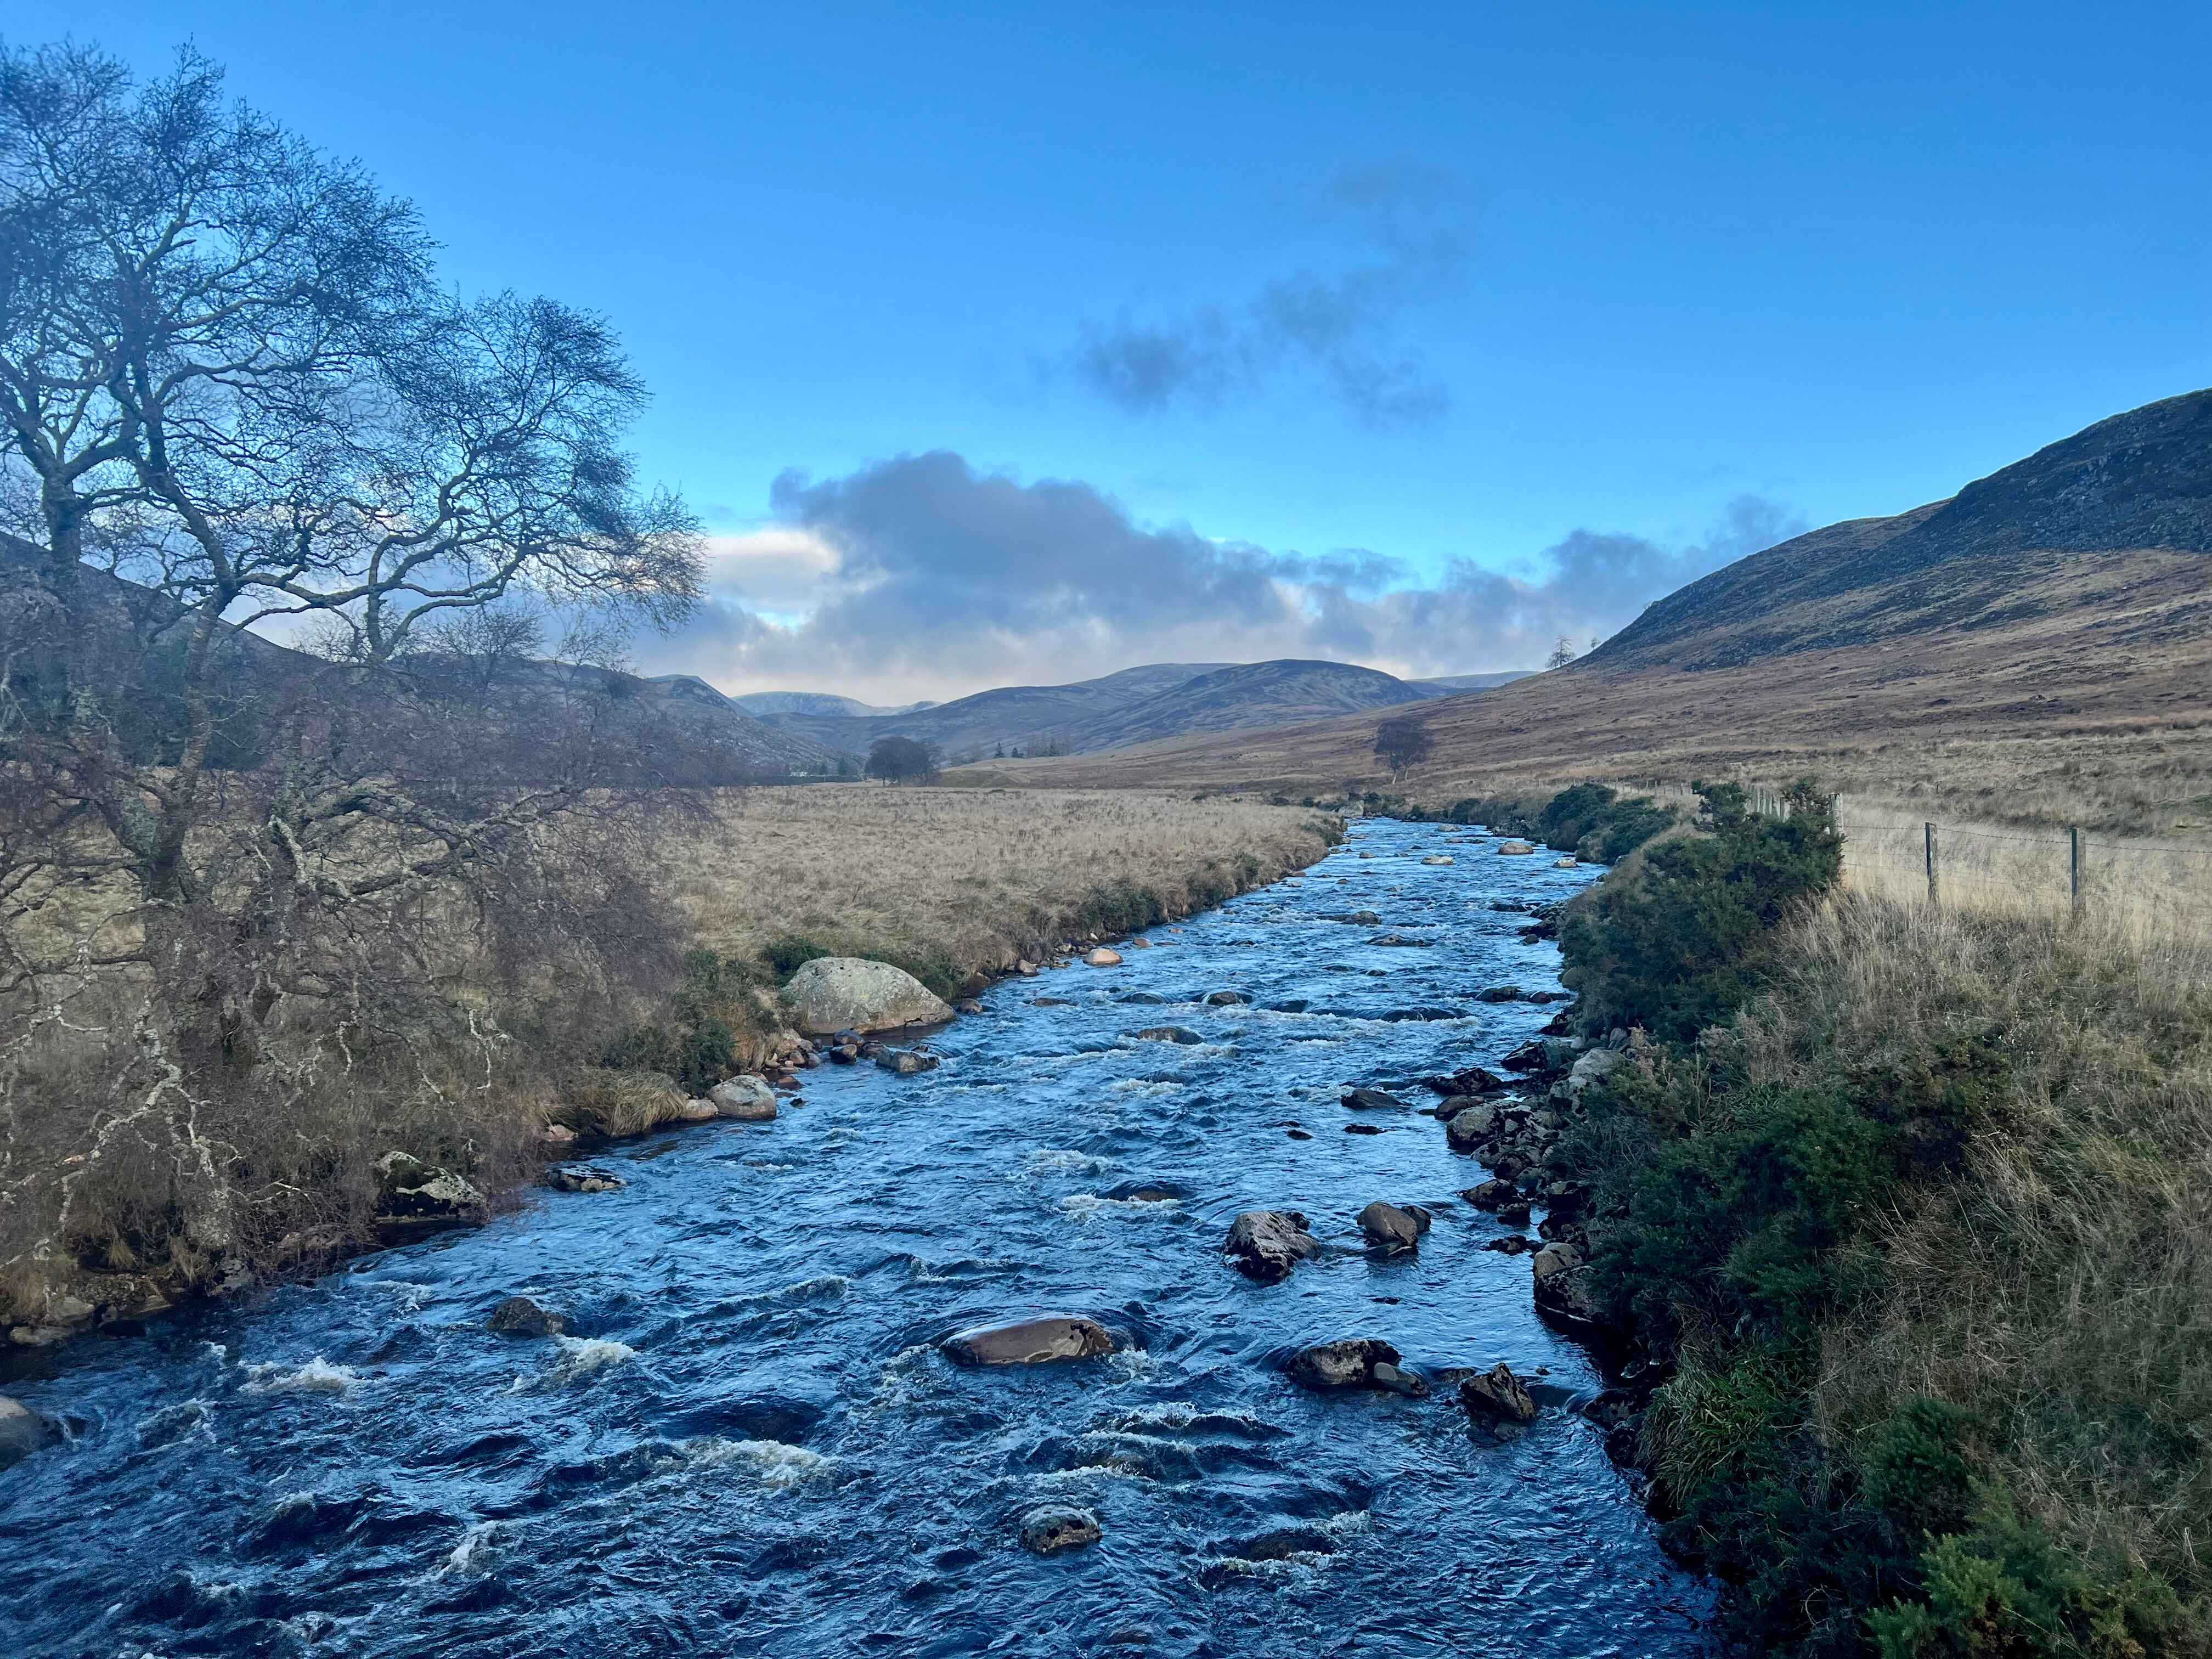
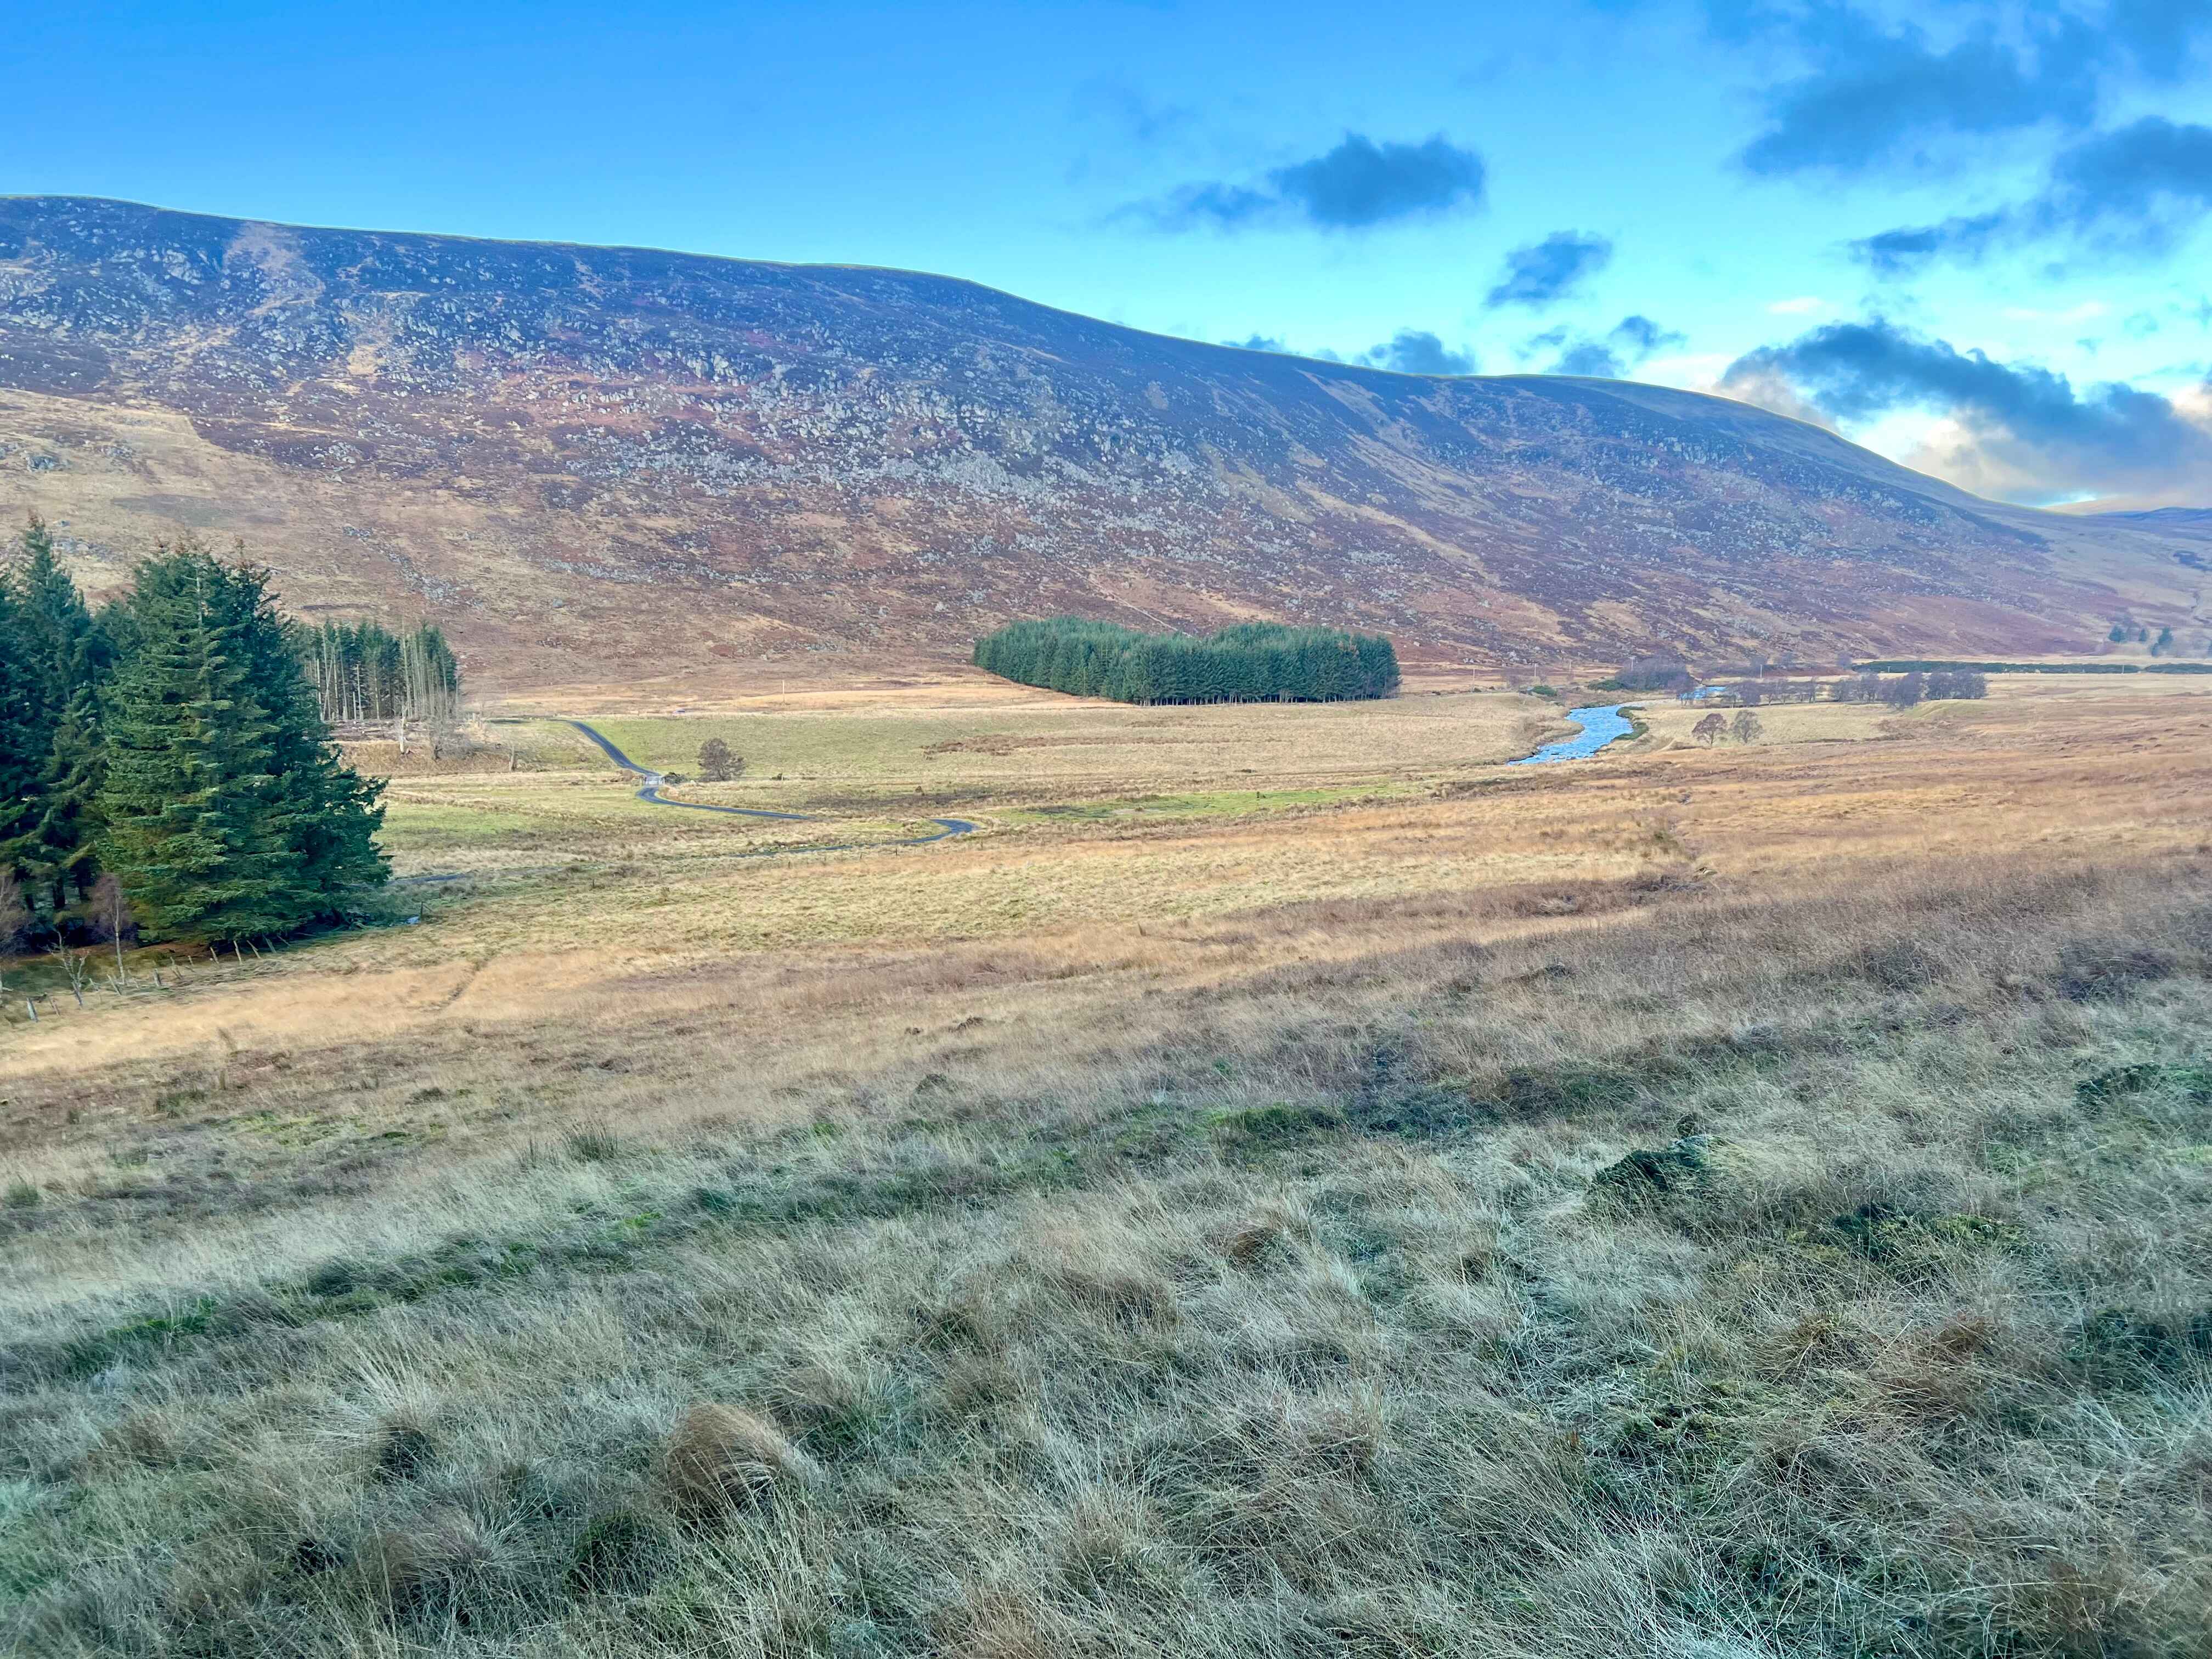
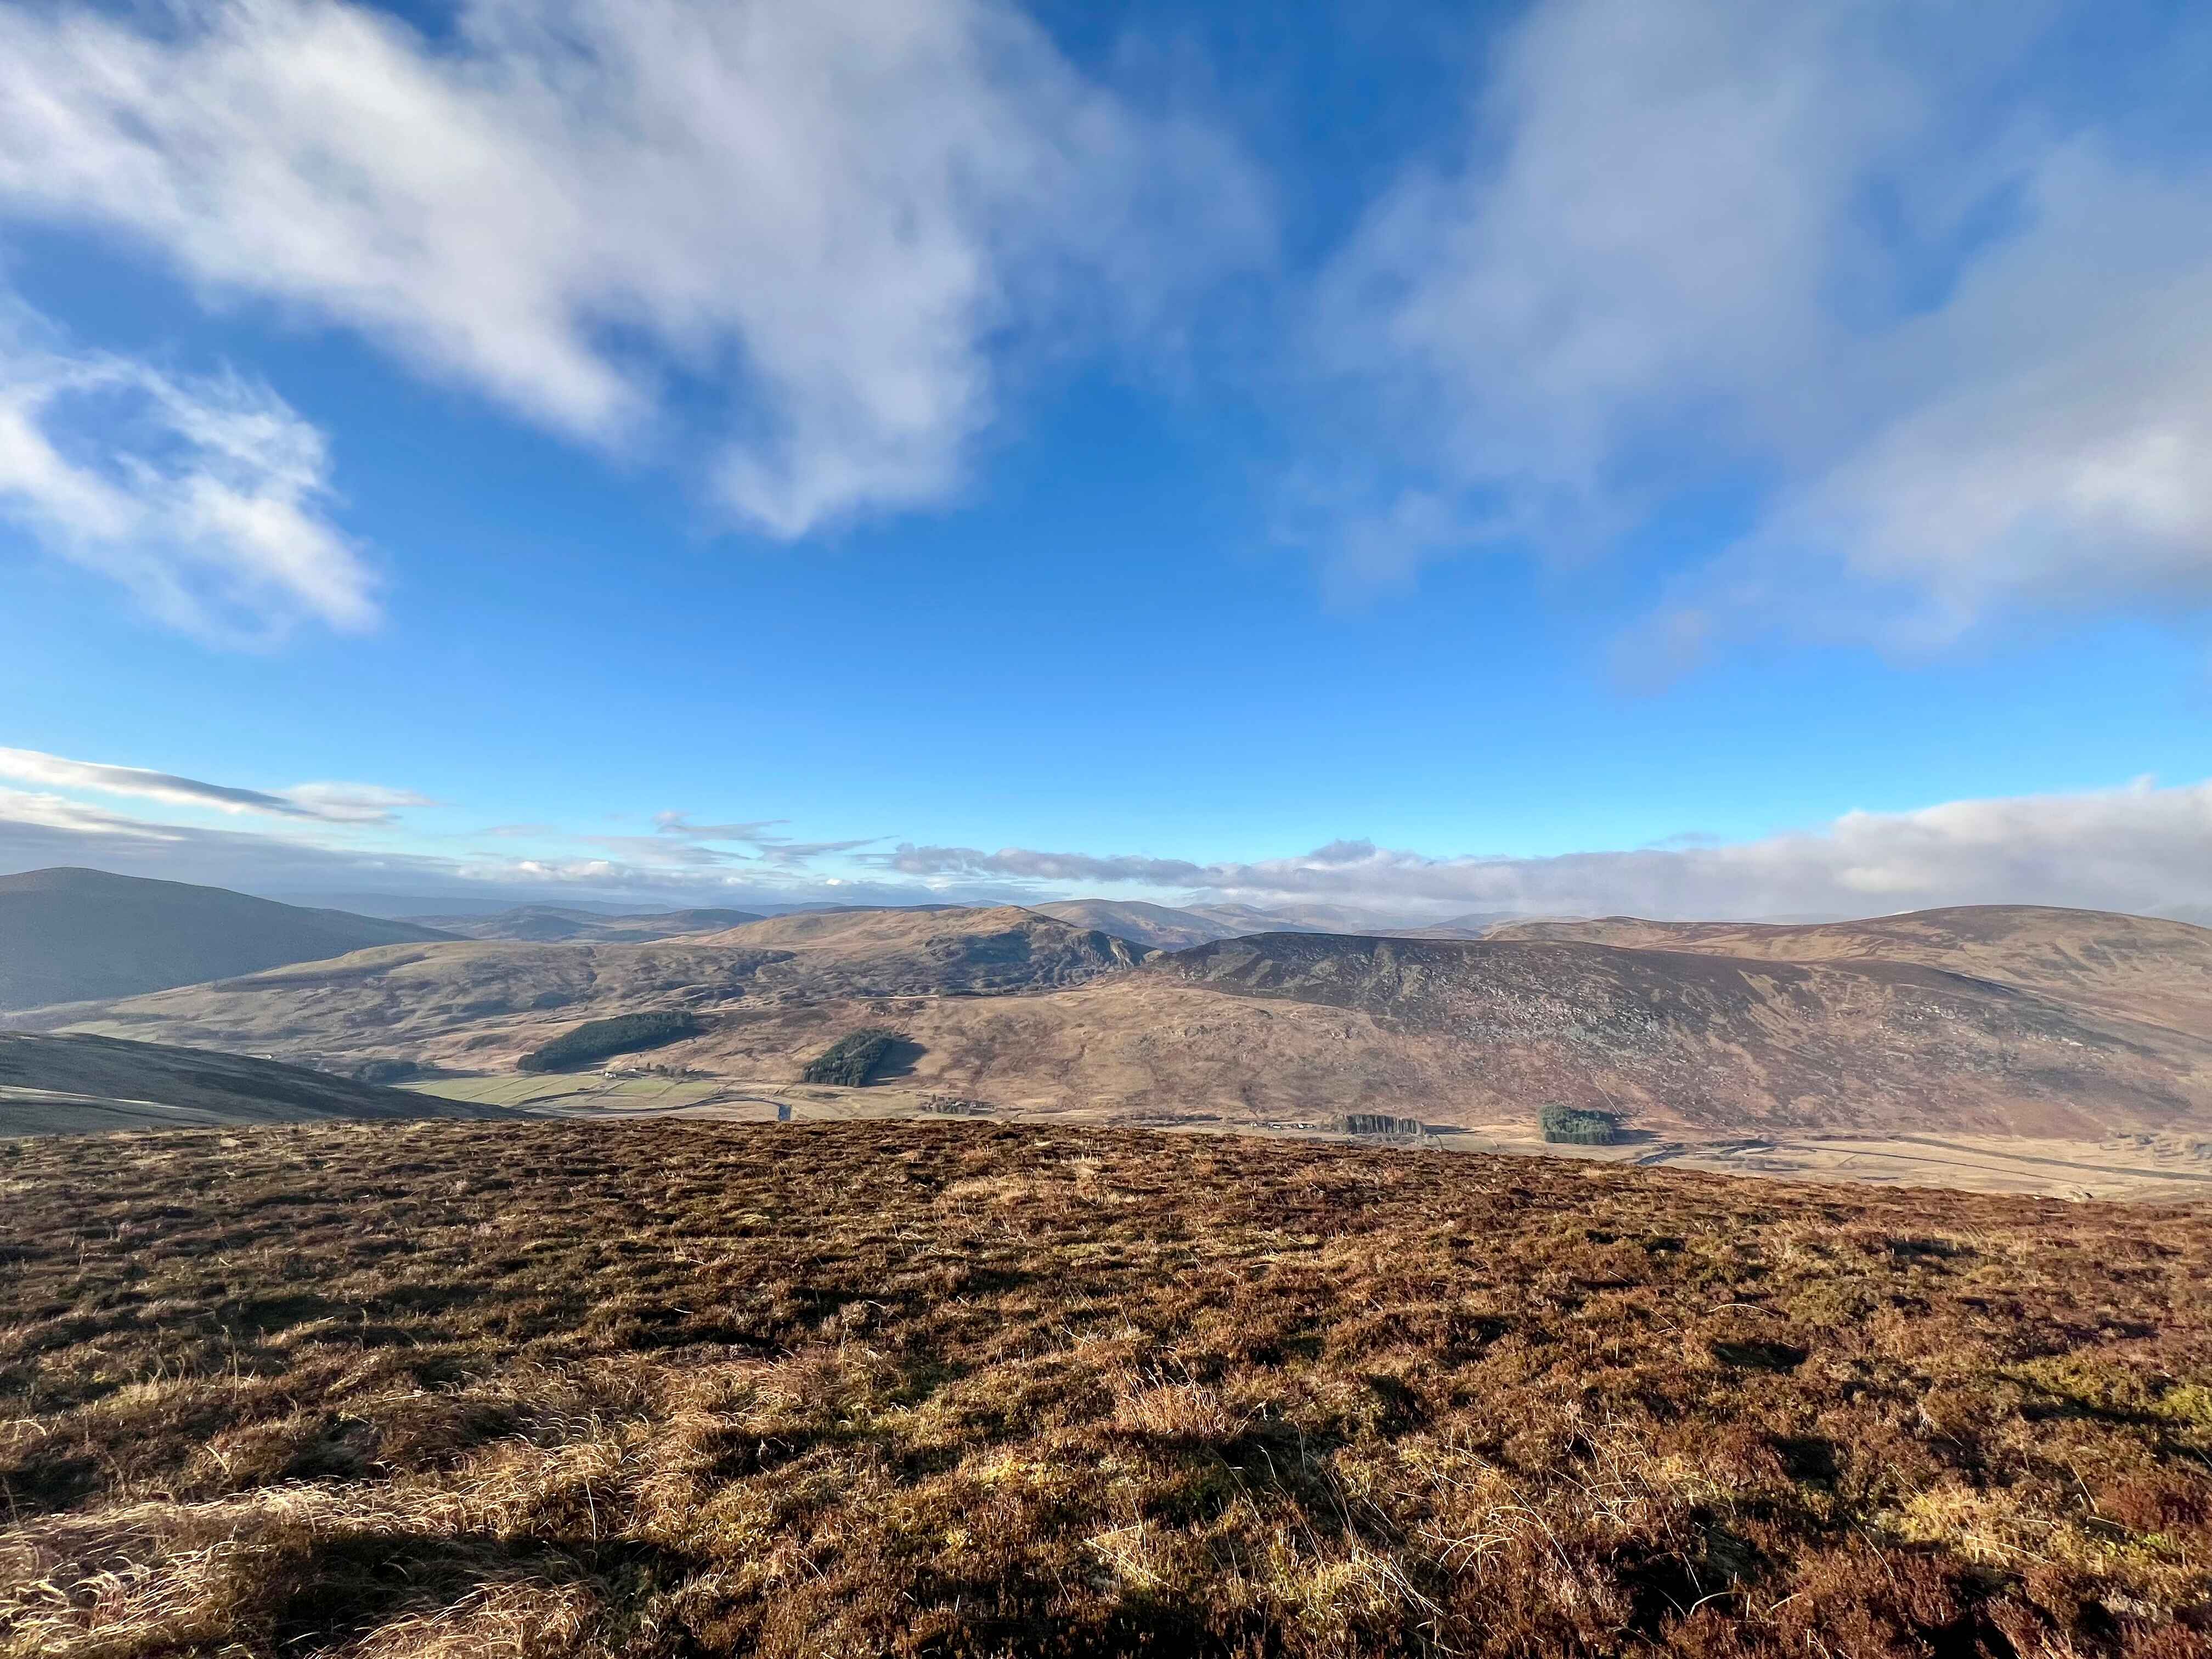
After the sleeting on the way down from Monamenach, the sky was even clearer now, and I had good views back and forwards of my hills for the day.
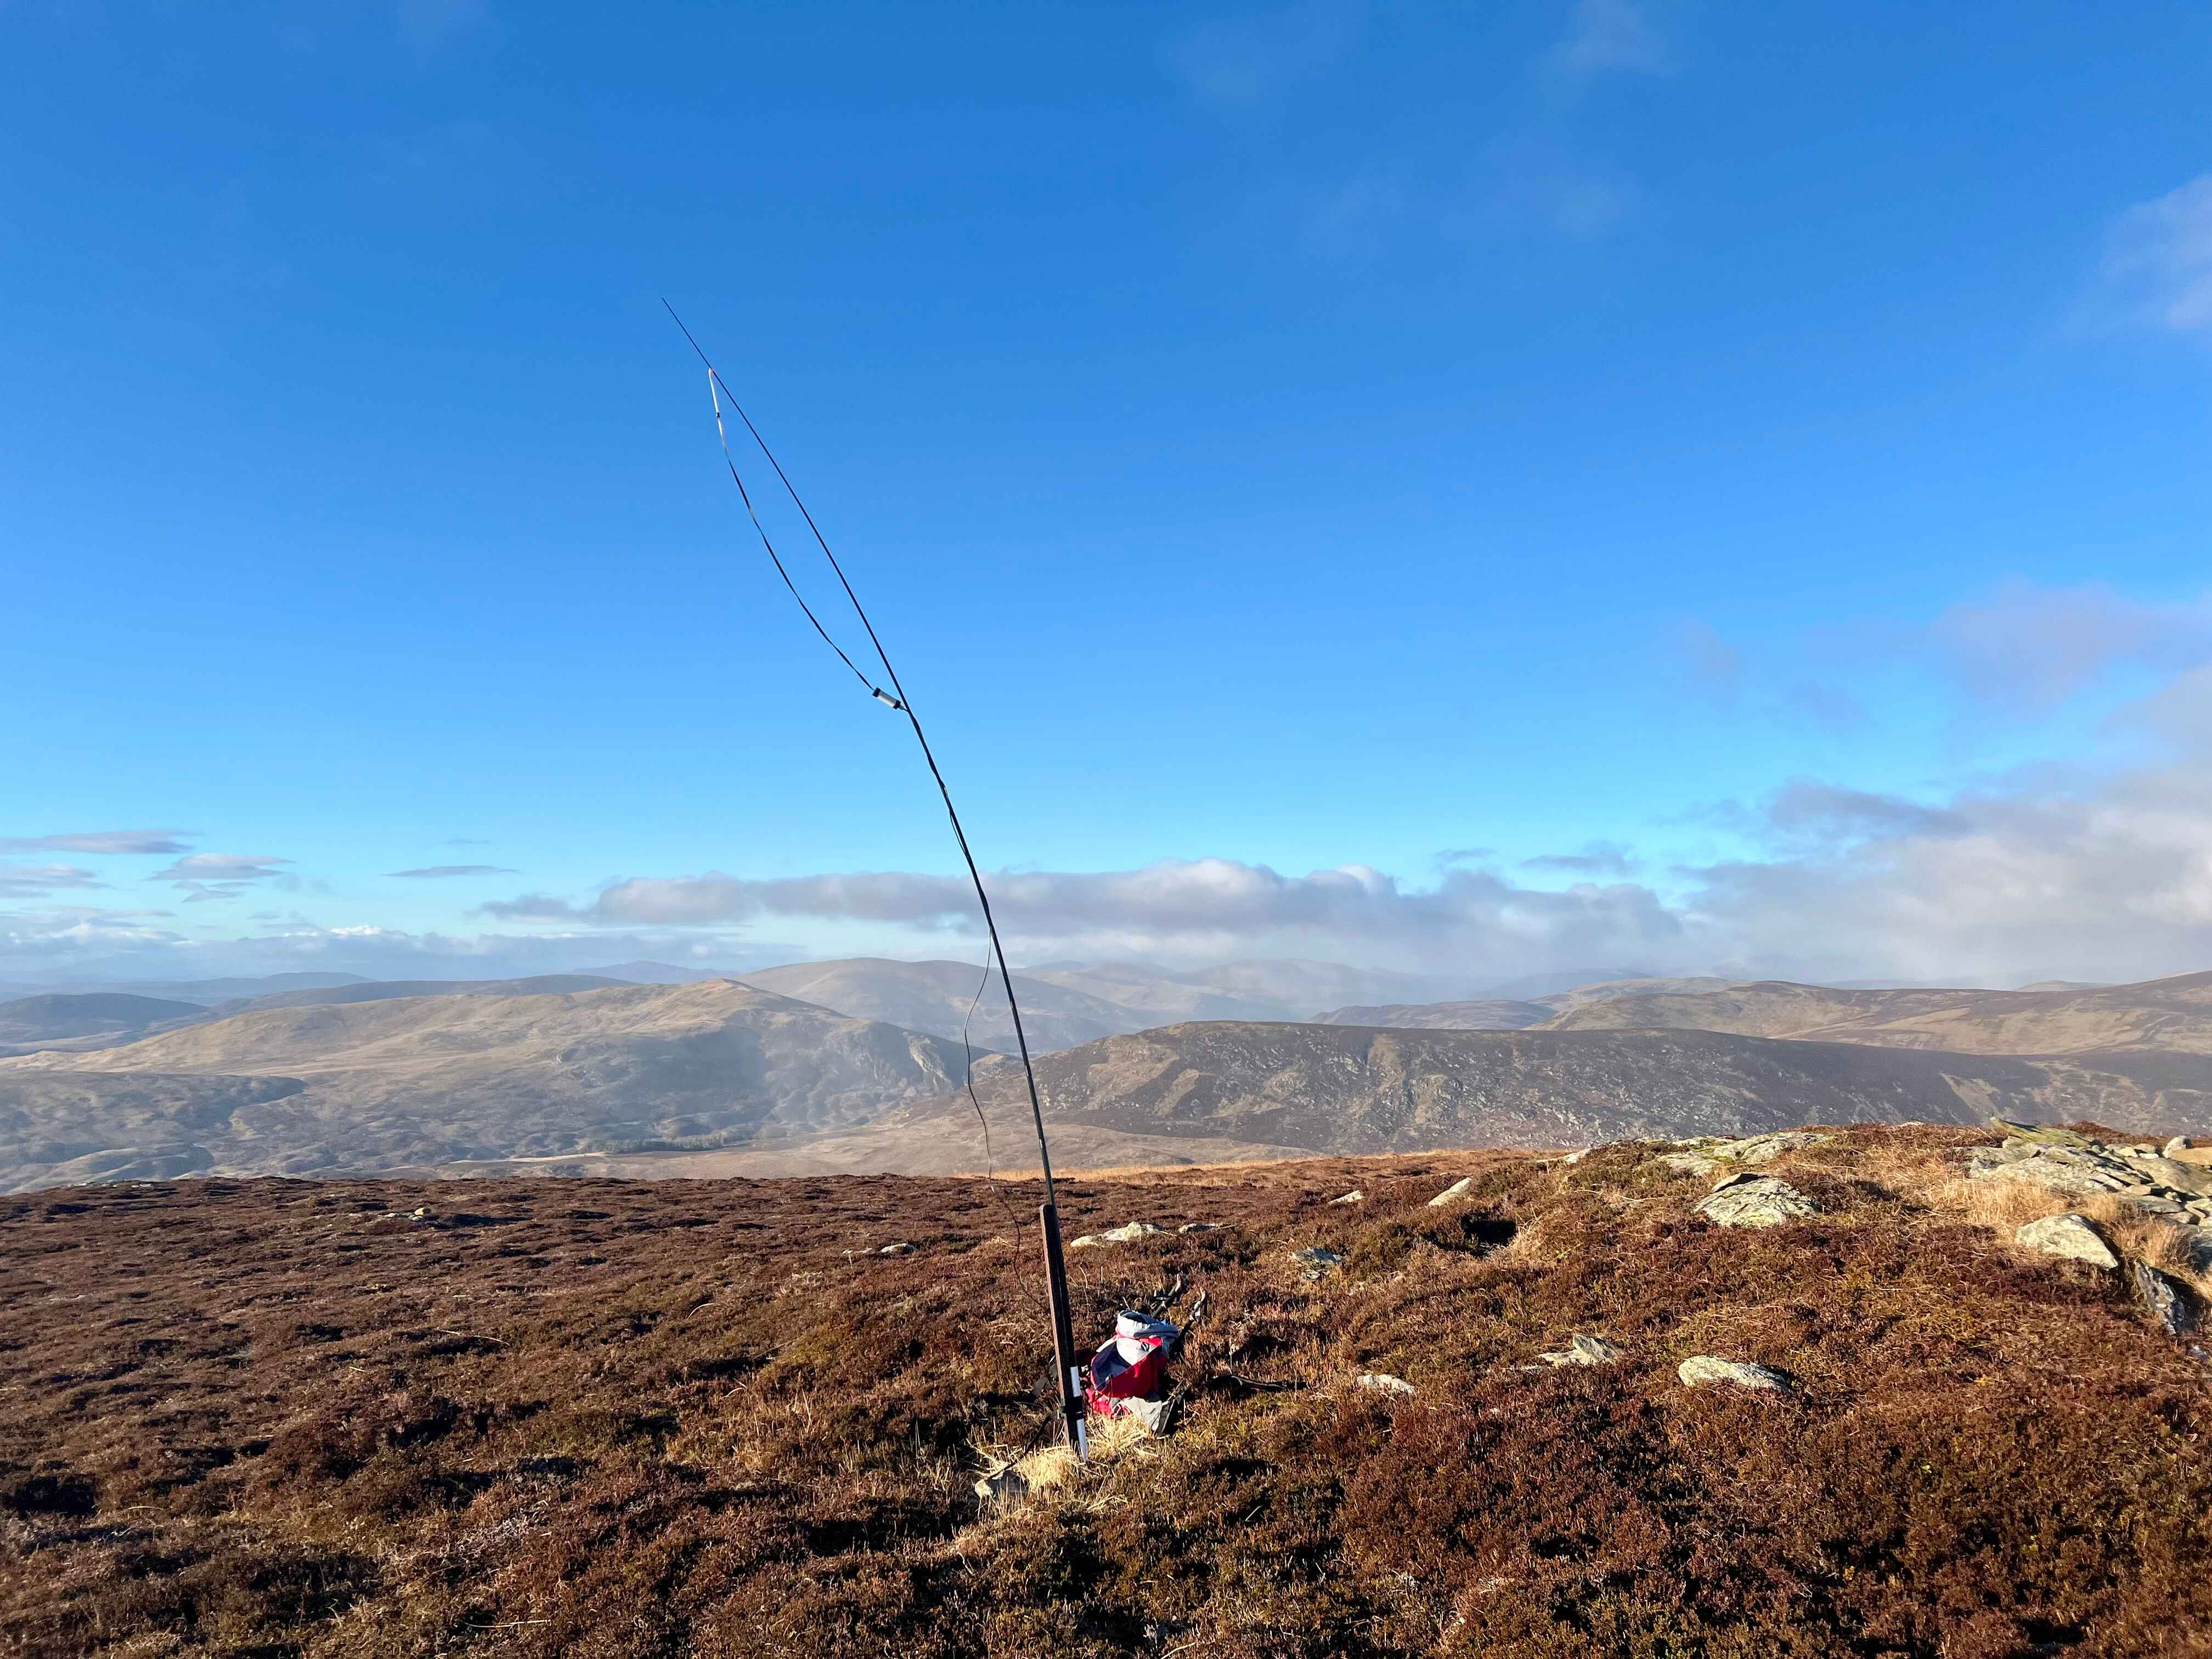
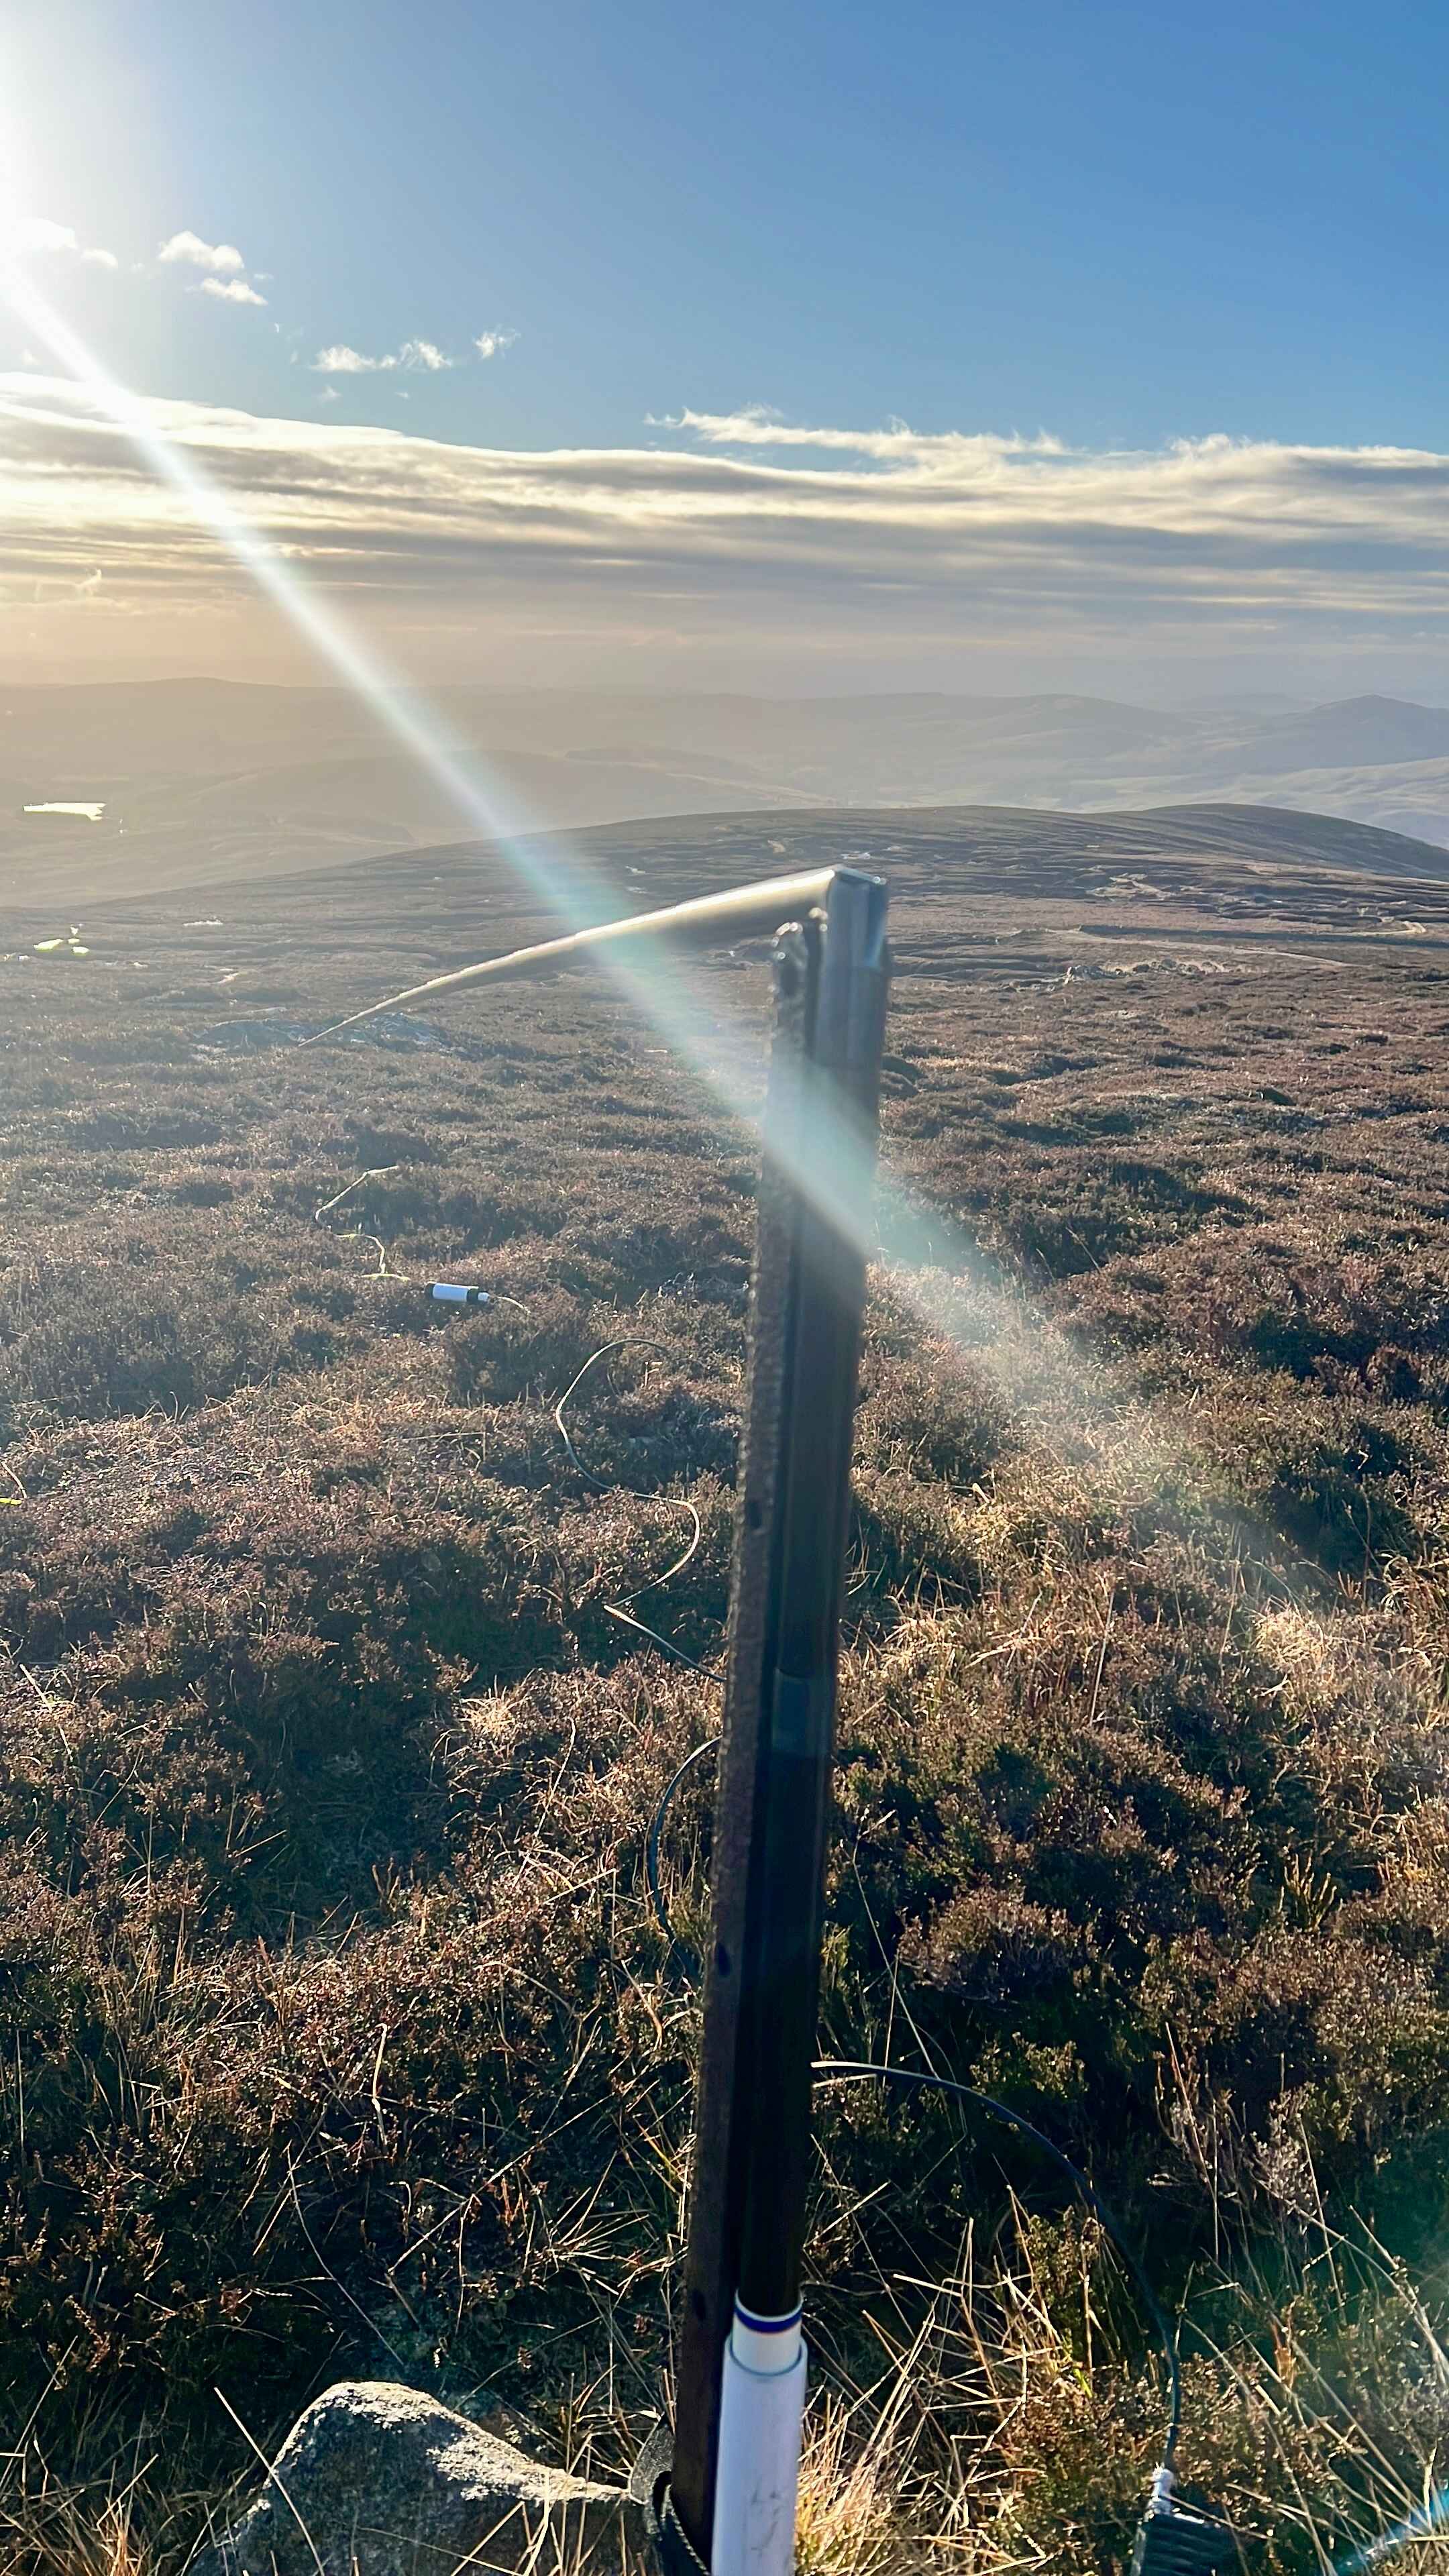
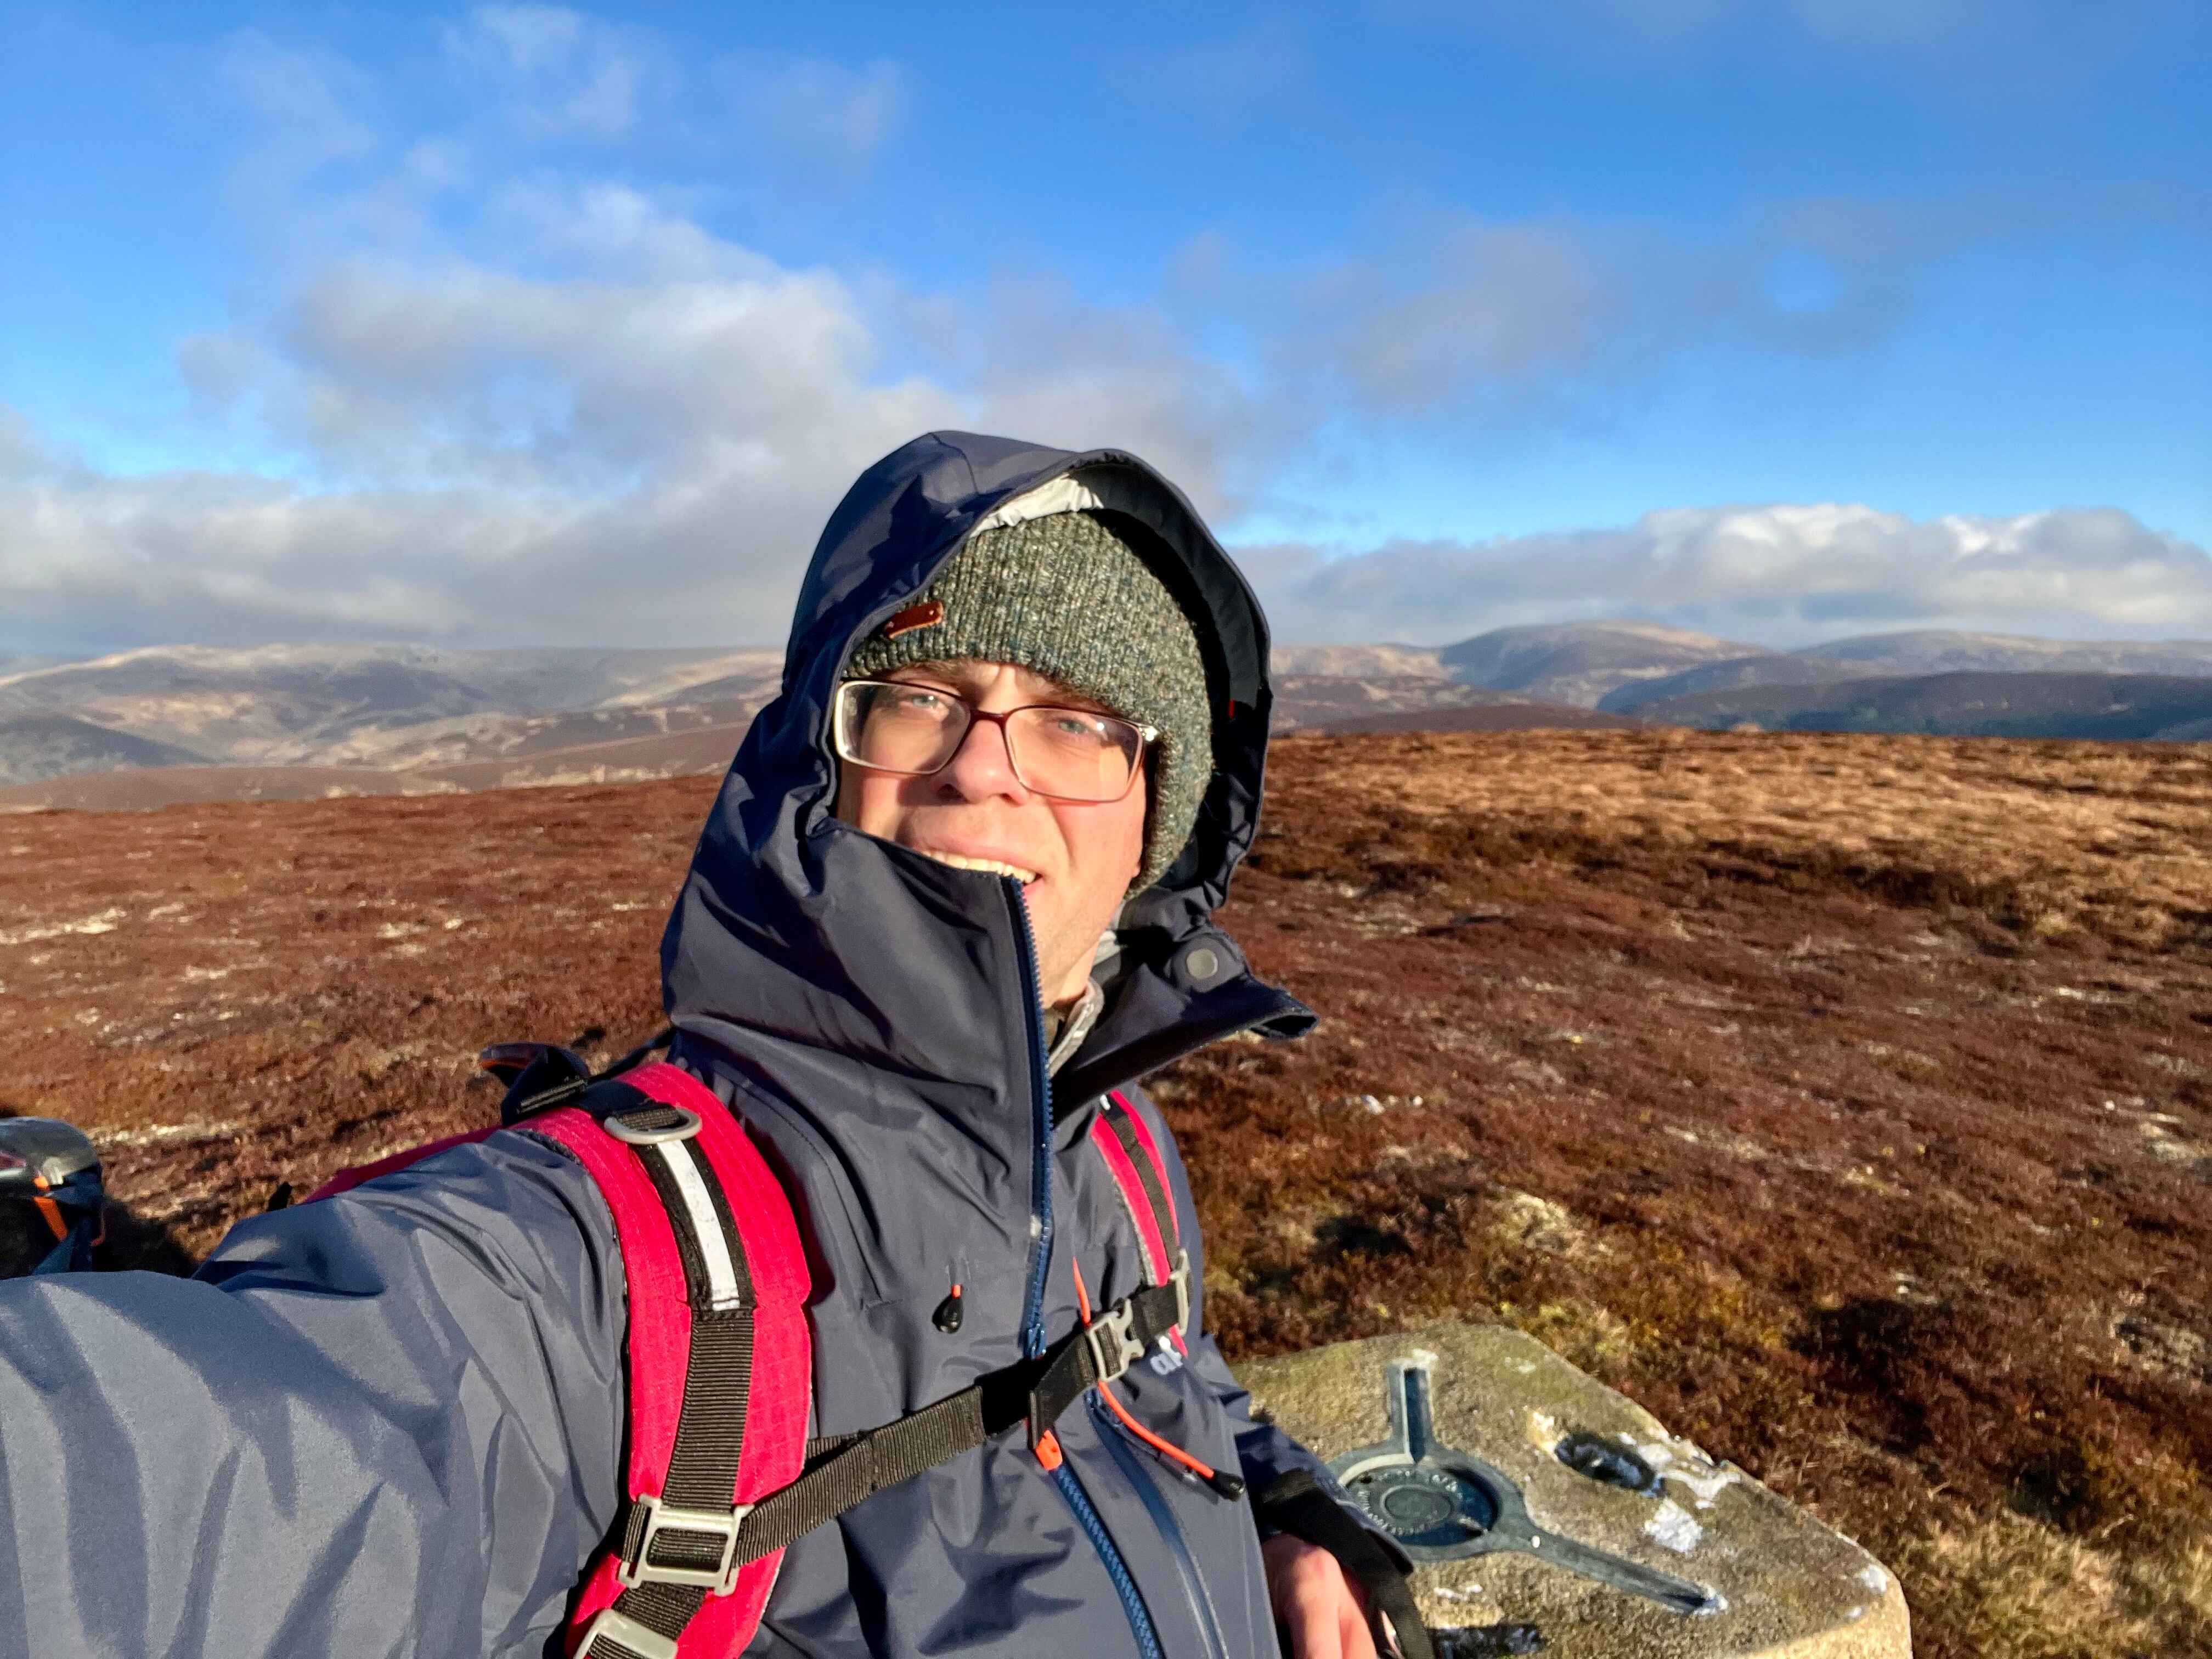
Whilst the walk up was steep enough, it went by quickly and I was soon leaning into the wind on the summit. There wasn’t much shelter by the trig point, and the top hole was covered, but I did find the mast mount which happened to be behind a slight rise, so that offered as little relief. Making full use of the post, I felt very smart when I took this photo.
and then this…
At that moment it was very obvious that I should’ve attached the mast on the leeward side of the support, so the metal post didn’t act like my leg when I break sticks over it. 🤦
I collapsed the mast enough to get past the break and continued on 2m. Three repeat stations from the first summit, and another got it qualified and then I was “happy” to pack up and grump down the hillside back to the car. Luckily, I had packed a spare mast in the car.
